You can manage the allergens and dietary labels available to select when adding allergen and nutritional information to your products.
The system includes a list of common allergens and dietary labels, such as Vegan and Vegetarian. You can also add your own labels, or edit and remove existing ones to suit your requirements.
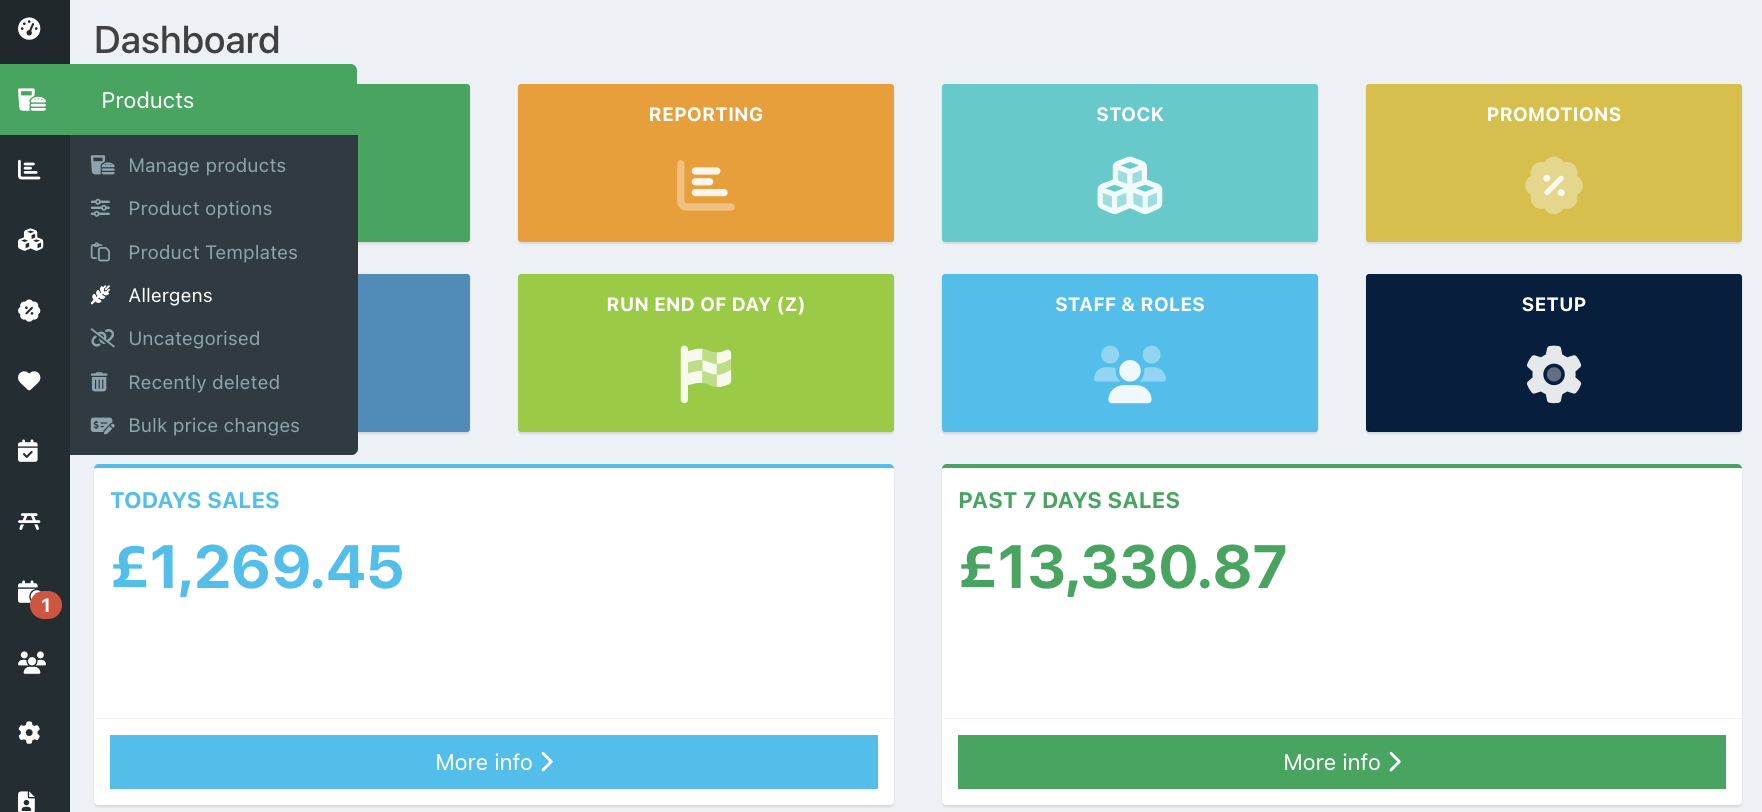
To manage your allergens and dietary labels, go into the back office and select Manage products > Allergens from the left hand-navigation.
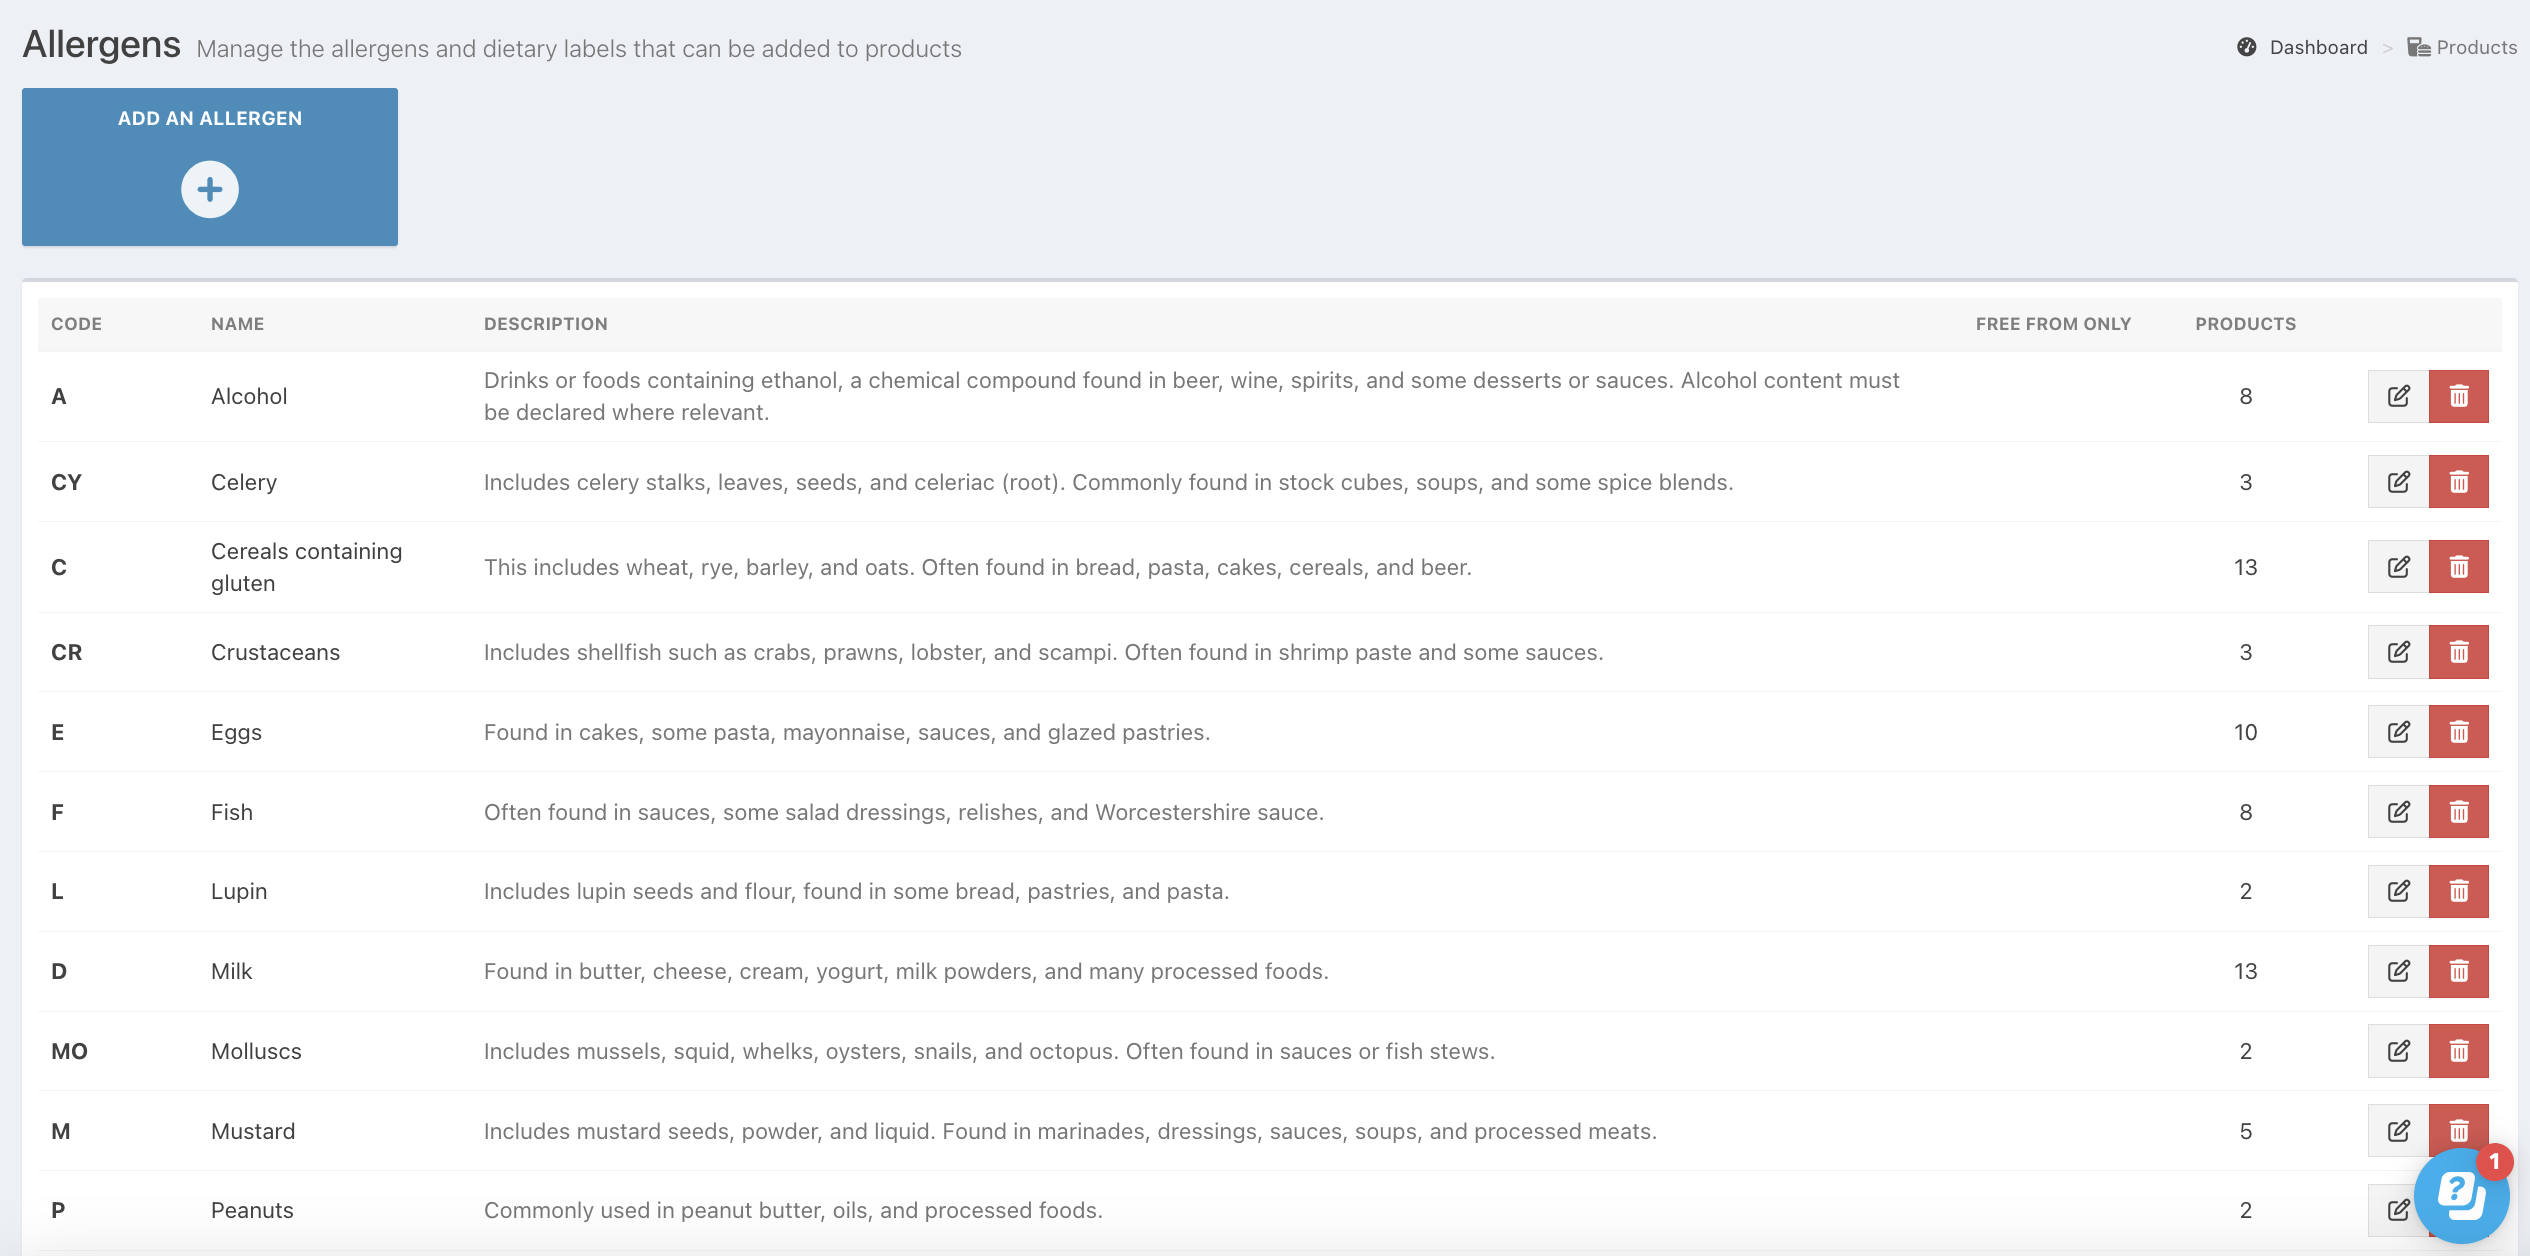
For each allergen or dietary label, you will be able to view:
- The allergen or dietary code
- The allergen or dietary name
- A description of the allergen or dietary label
- Whether the label is only used for free-from criteria. For example, Vegan or Vegetarian
- The number of products using the allergen or dietary label
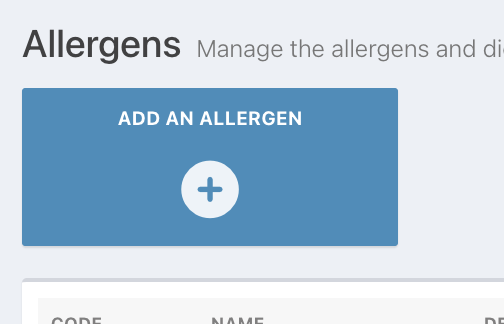
To add a new allergen or dietary label, click the blue Add a new allergen button.
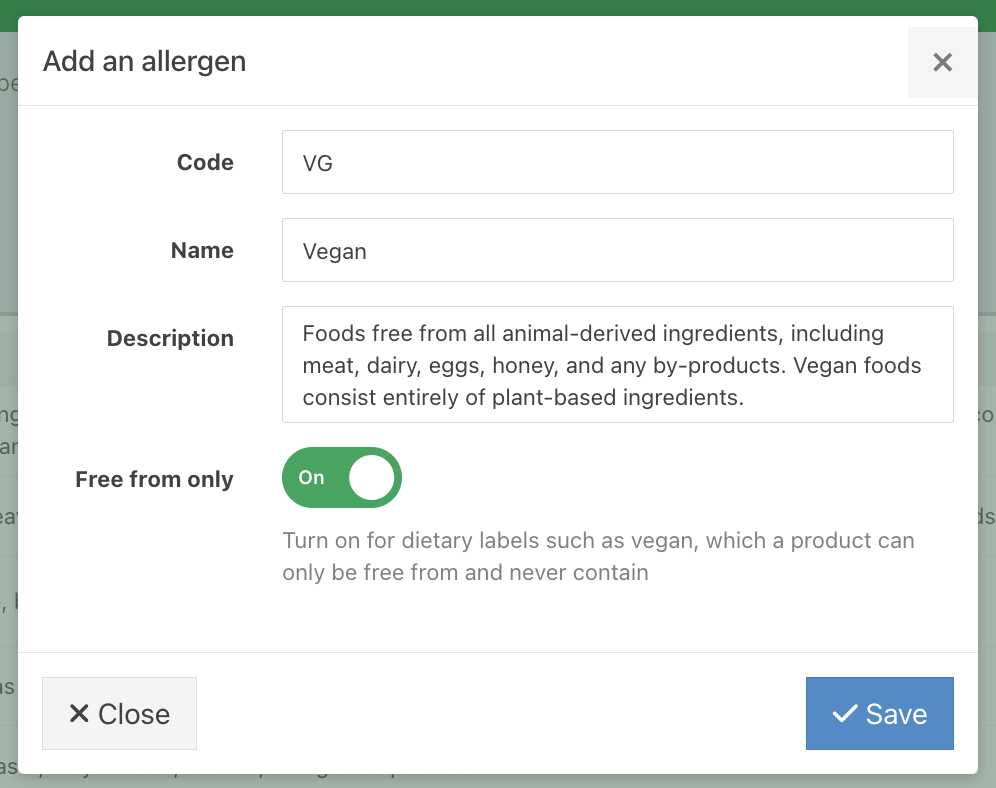
On the Allergen modal, you will be able to provide:
Code – Enter a short code to identify the allergen or dietary label, such as V for Vegetarian.
Name – Enter the name that will appear when selecting the label on a product.
Description – Add a description to provide further information about the allergen or dietary label.
Free from only – Turn this on for dietary labels such as Vegan or Vegetarian, that can only be selected as a Free from label rather than as an allergen. Leave this off for allergens that can be selected under Contains, or May contain.
Then, click Save to add your new allergen or dietary label.
You can then select it when adding allergen information to your products.
Editing an allergen or dietary label
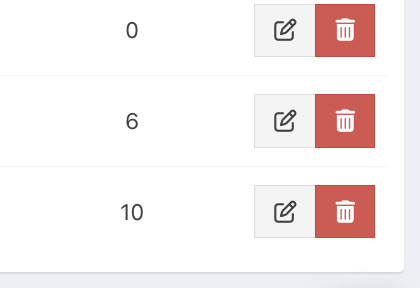
To update any existing allergen or dietary labels, locate it from the list and click the blue Edit icon.
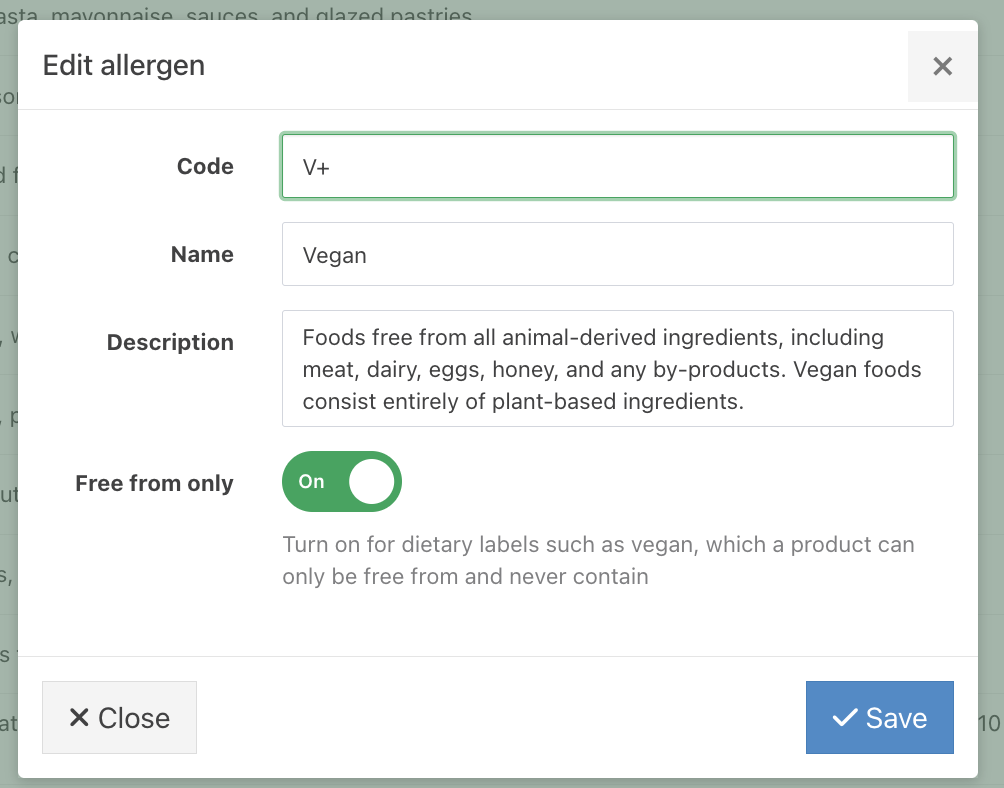
You can update the:
- Code
- Name
- Description
- Free from only setting
Then click the blue Save button.
Deleting an allergen or dietary label
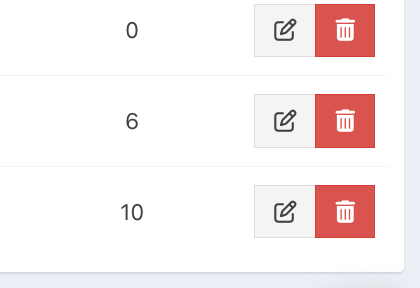
To delete an allergen or dietary label you no longer need, locate it in the list and click the red Delete icon.
Note: Before deleting a label, check the Products column to see how many products currently use it.
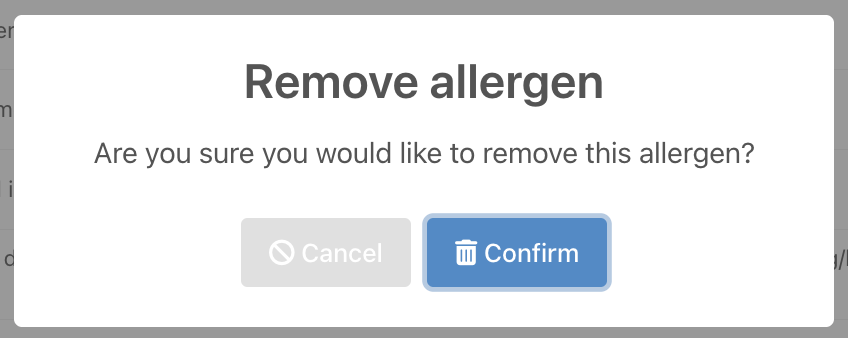
At the confirmation prompt, click the blue Confirm button.
Once you have finished making changes, click the orange banner at the top of the screen to Sync your changes to the EPOS.
Was this article helpful?
That’s Great!
Thank you for your feedback
Sorry! We couldn't be helpful
Thank you for your feedback
Feedback sent
We appreciate your effort and will try to fix the article