If your EPOS is integrated with Teya payment terminals, you can configure your terminals to enable you to pay a customer's bill at the table using only the Teya terminal. This avoids the need to take an EPOS iPad to the table to take payment.
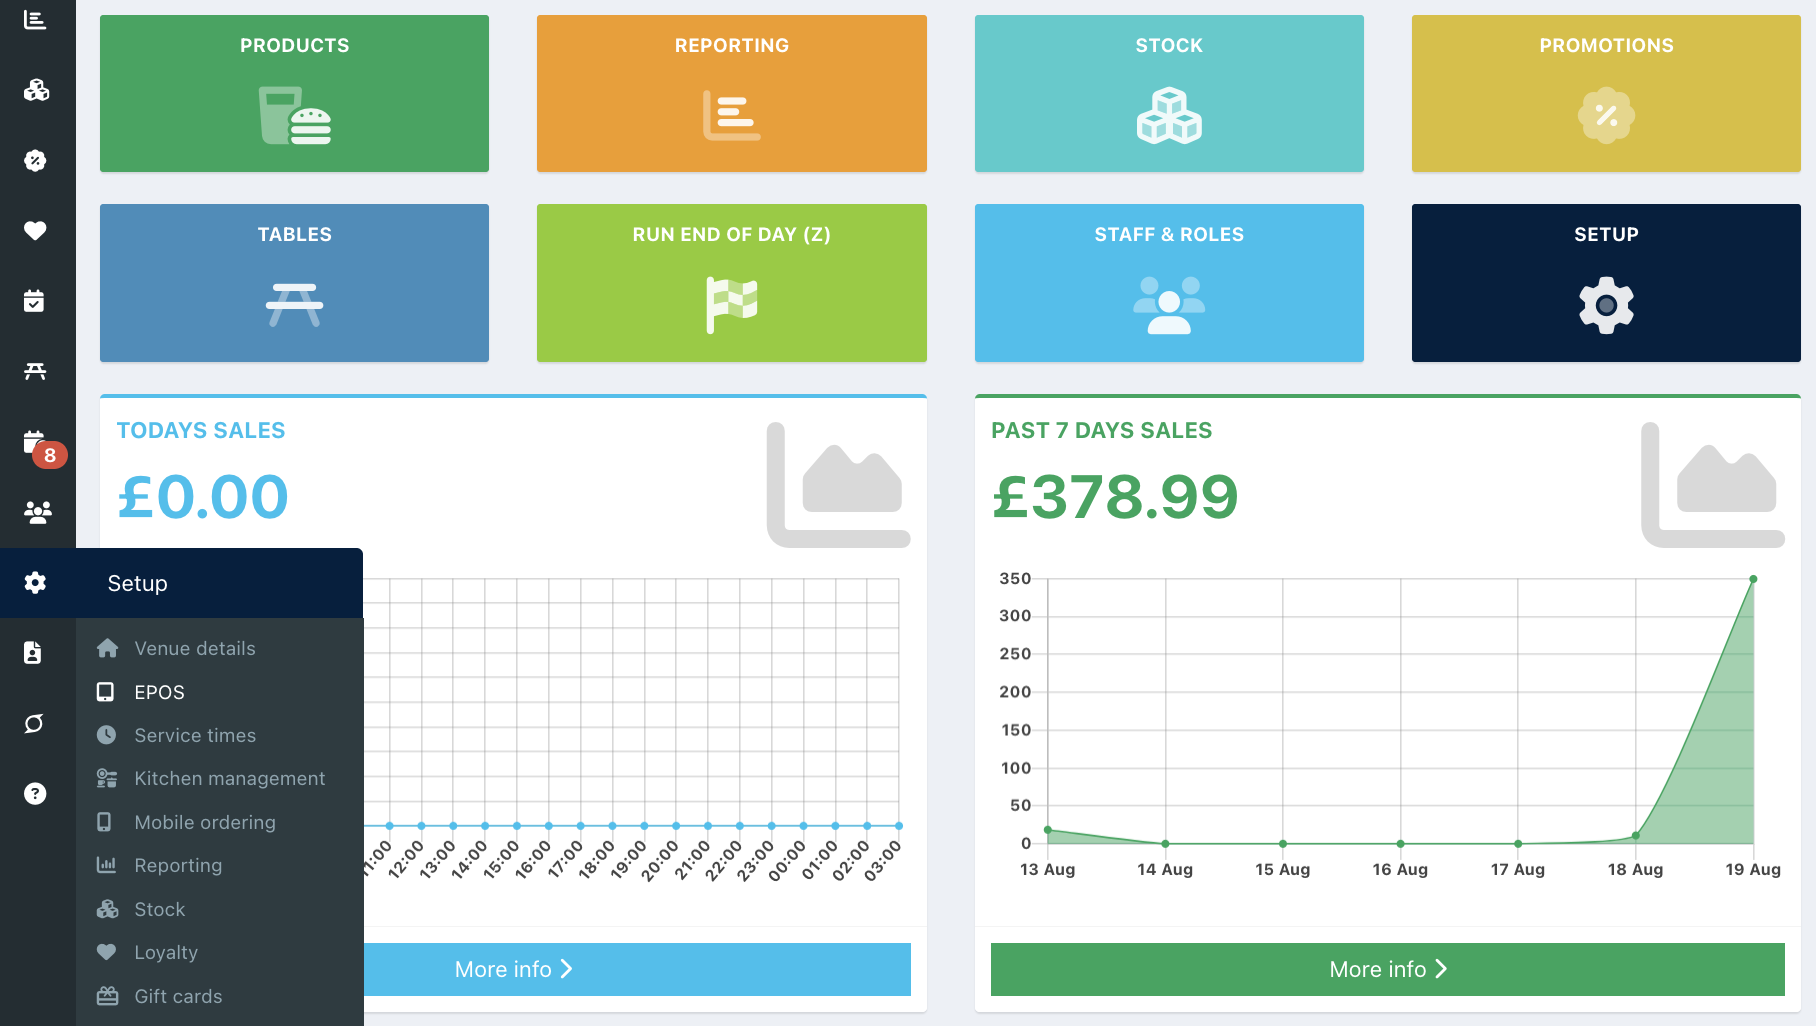
To configure Teya Pay at Table, go into your back office and select Setup > EPOS.
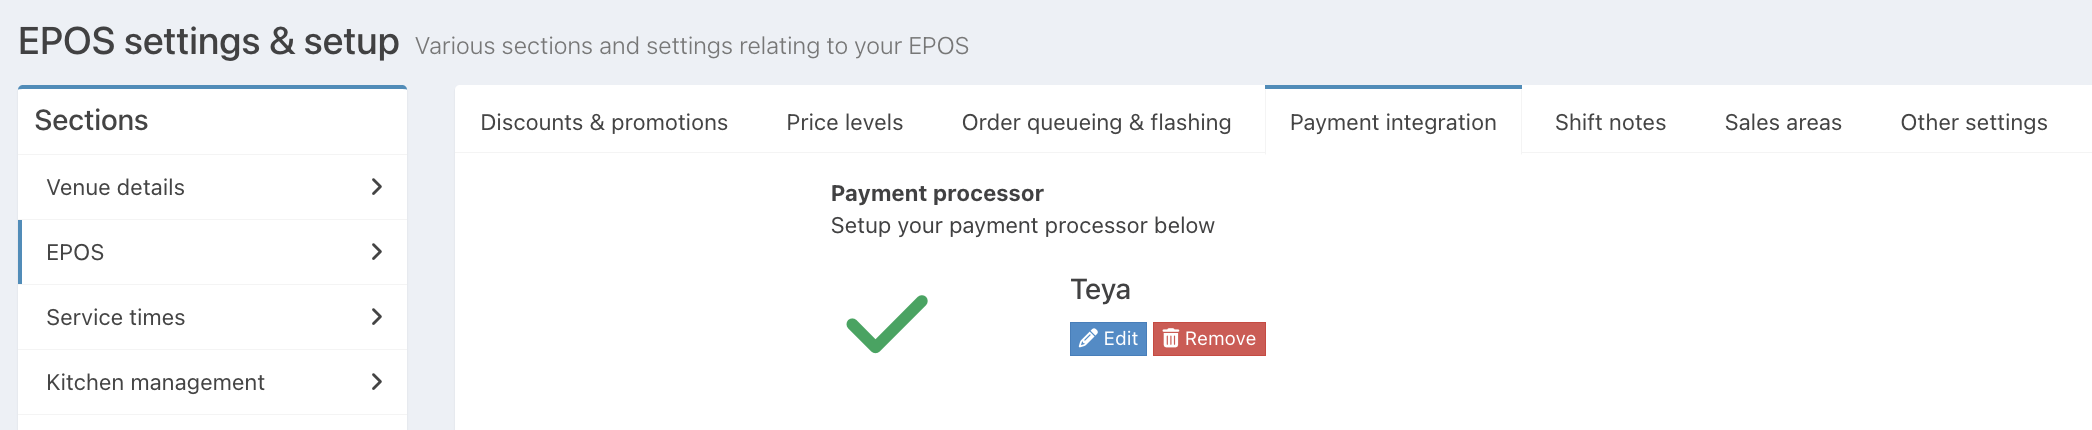
Click the Payment integration tab at the top of the screen. Then click the blue Edit button.
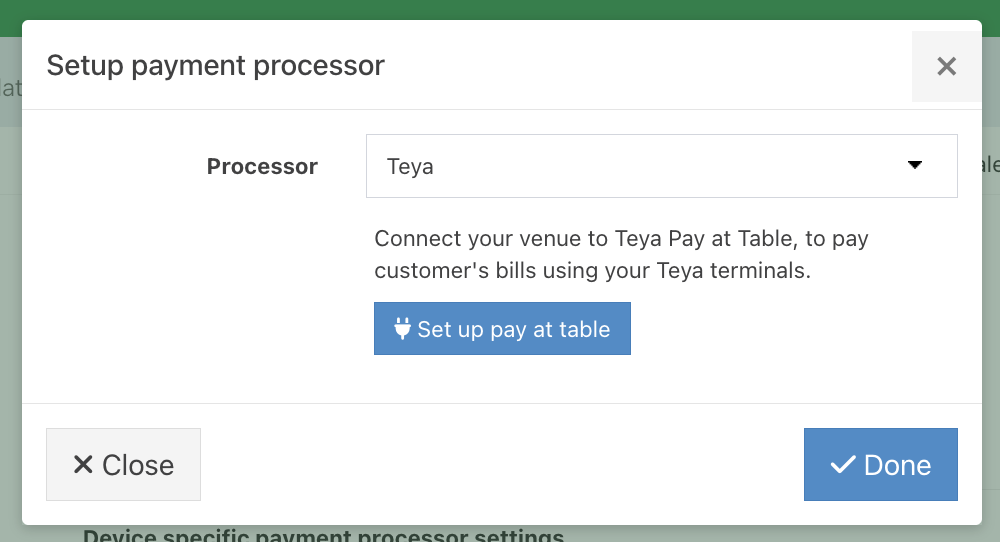
The Payment processor modal will display. Click the blue Setup Pay at Table button.
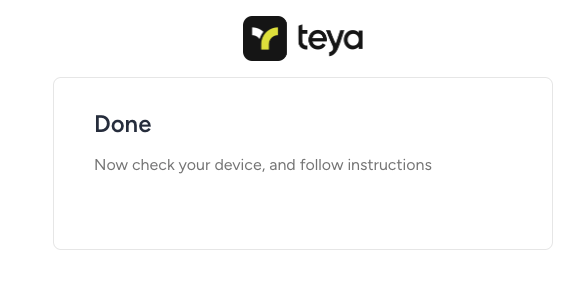
The Teya verification window will open for you to verify your Teya terminal and account.
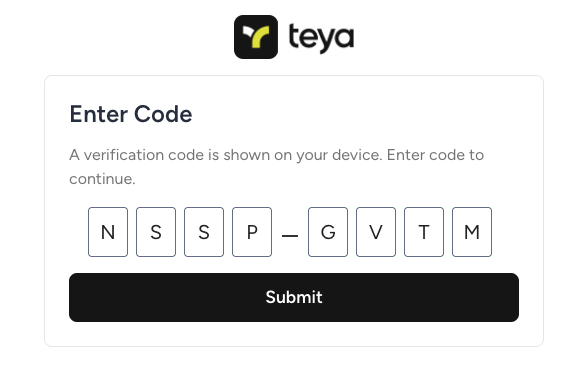
When you have confirmed the Teya setup, close the Teya window and return to the Tabology back office screen.
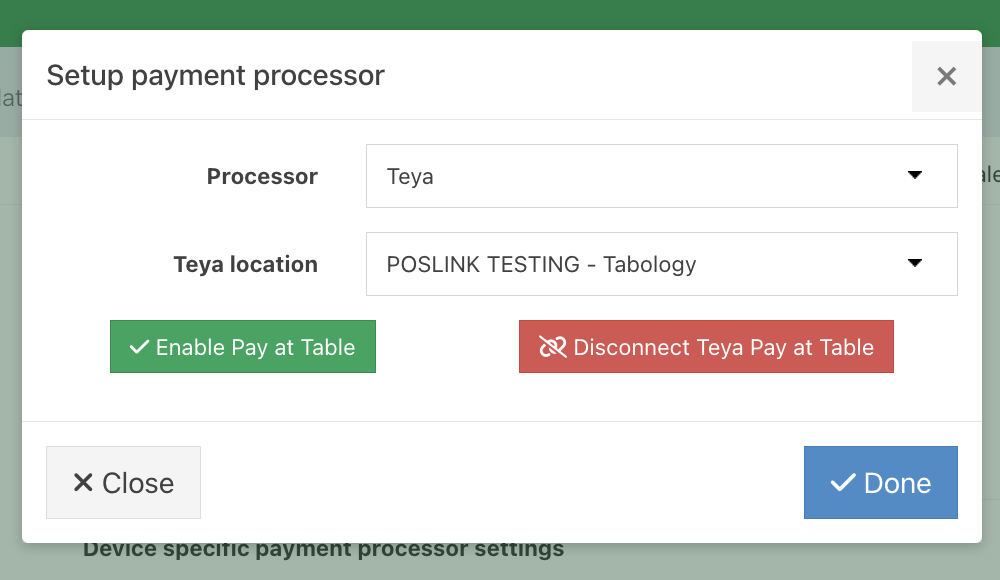
 From the Teya location dropdown, select the location you want to pair your Teya terminal to.
Note: If you only have one location, this will default to your single location.
Then click the green Enable Pay at Table button.
A green success banner will display in the Setup payment processor modal to confirm successful setup and the confirmed location.
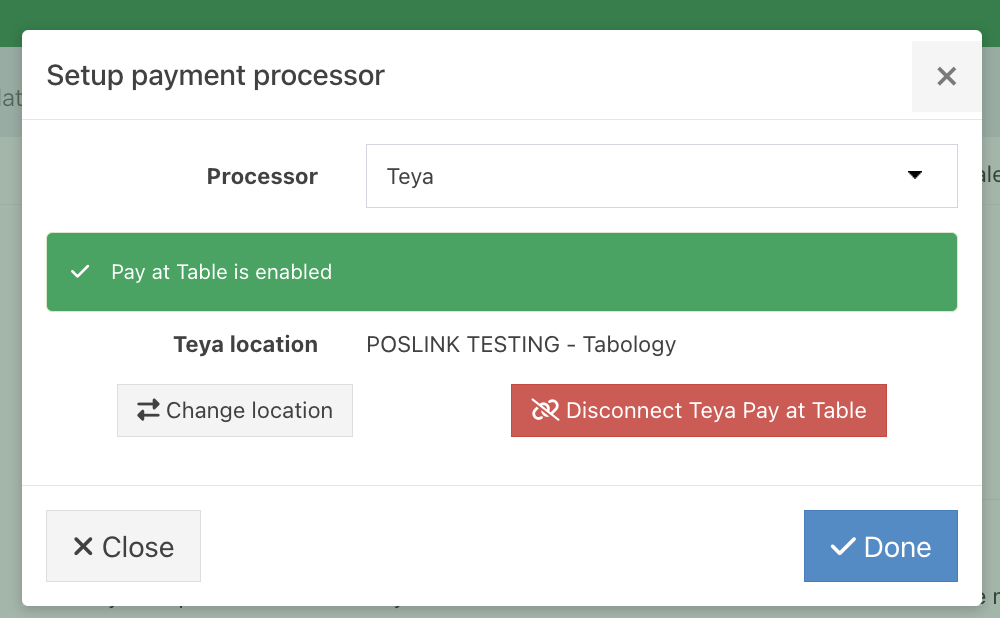
You can now use Teya Pay at Table.
Changing location
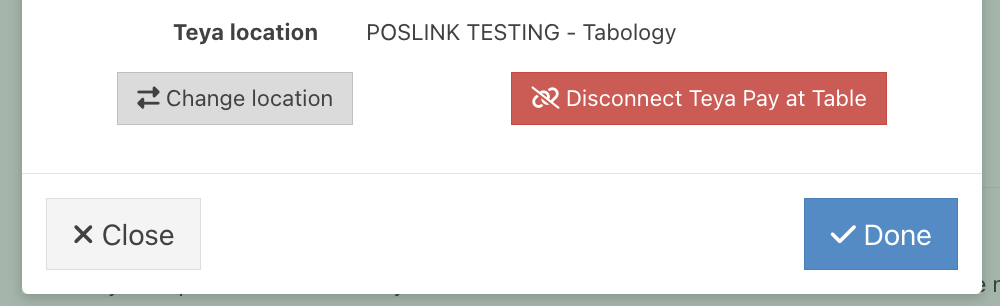
To change your Teya account location, click the grey Change location button and select your new location from the Dropdown field. Follow the steps above to Enable Teya Pay at Table for your new location.
Was this article helpful?
That’s Great!
Thank you for your feedback
Sorry! We couldn't be helpful
Thank you for your feedback
Feedback sent
We appreciate your effort and will try to fix the article