After you have created a Member type, you can set up email templates that only members of that type will receive.
You will be able to set:
Welcome email – Welcome new members to your Member type
Membership pre-expiry email – Inform members that their membership is due to expire and explain how they can renew or continue their membership
Membership expiry email – Inform members that their membership has expired and explain what happens next
Note: To use pre-expiry and expiry emails, you also need to configure these in the Email notifications tab.
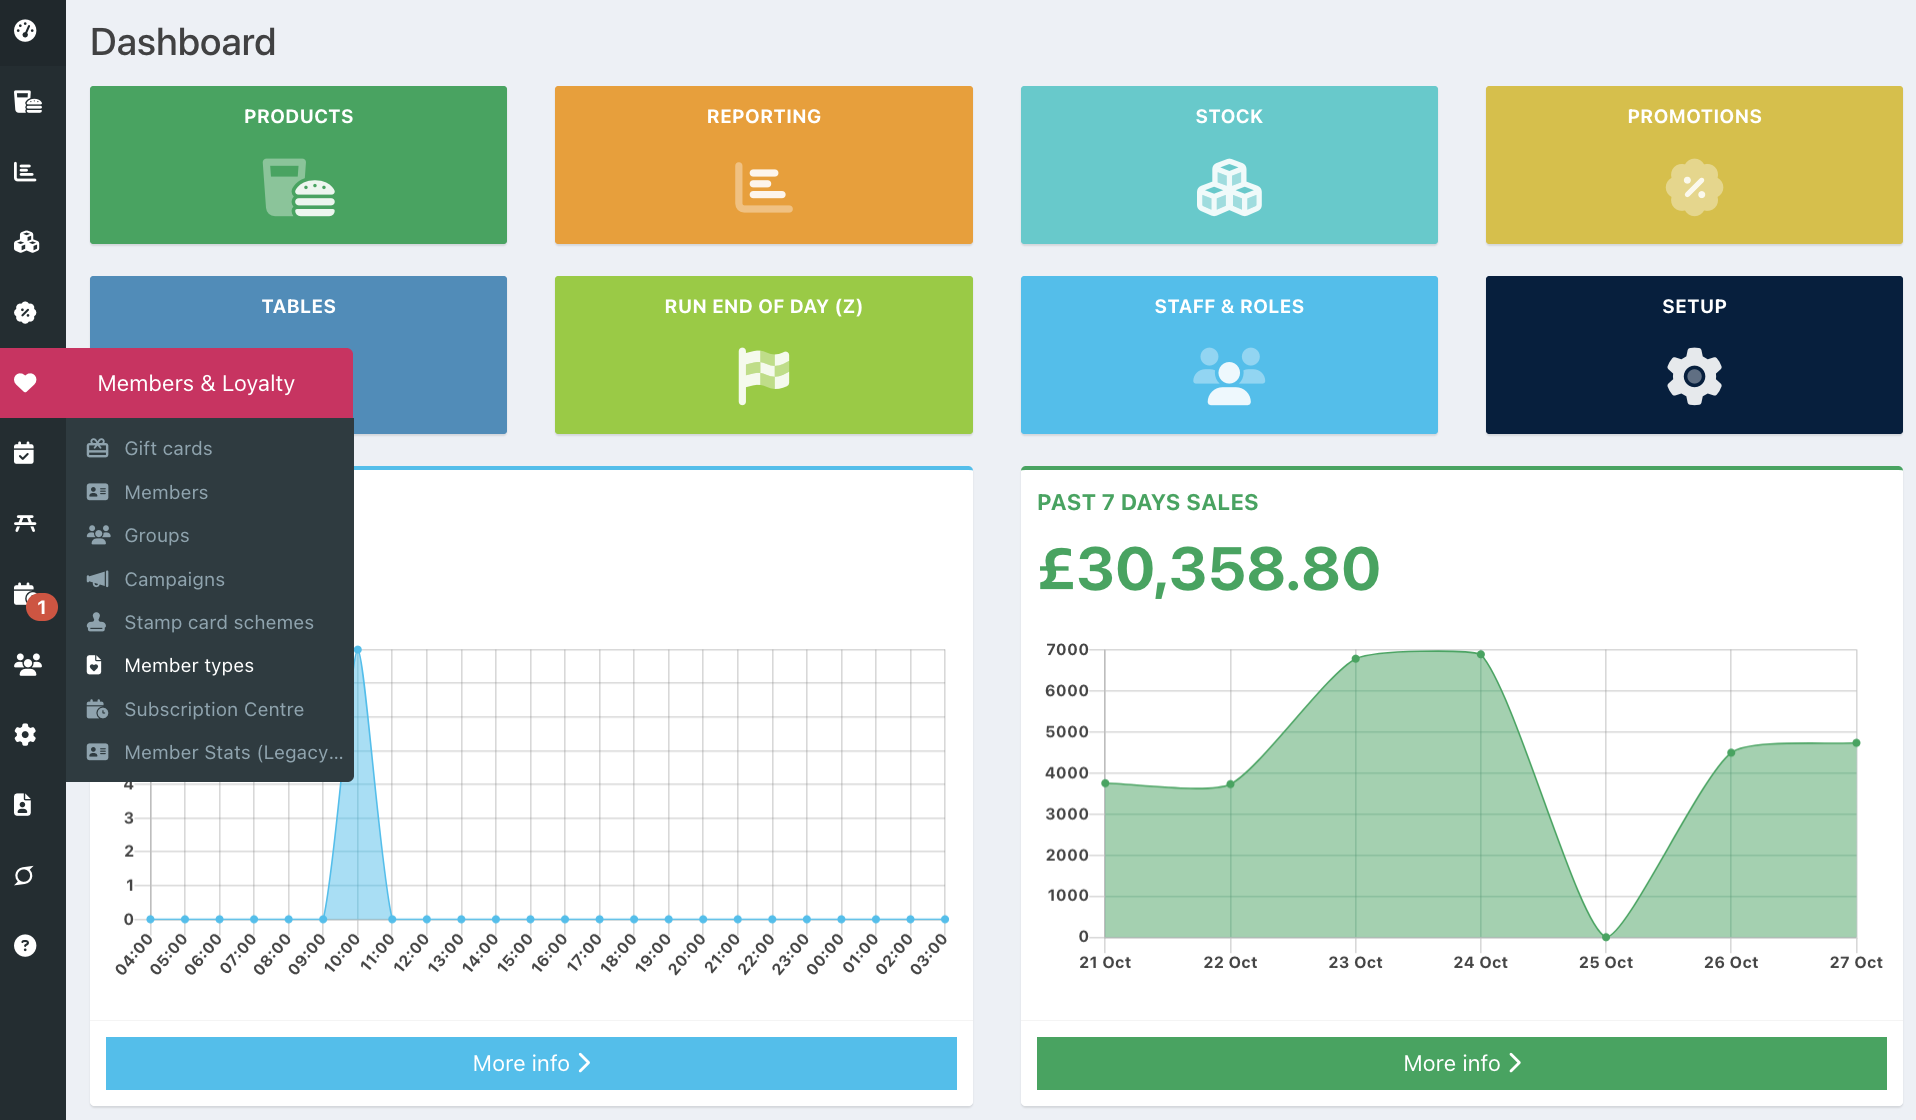
To add an email template, go into your back office and select Members & Loyalty > Member types from the left-hand navigation.
Locate the required Member type you want to add an email template to and click the blue Edit icon at the end of the row.
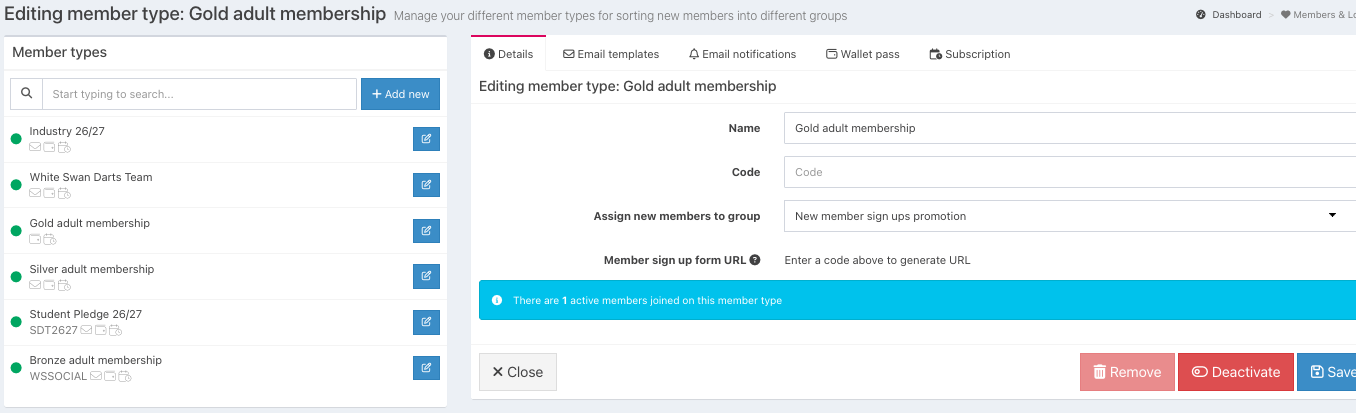
The Member type will display on the right side of the screen.
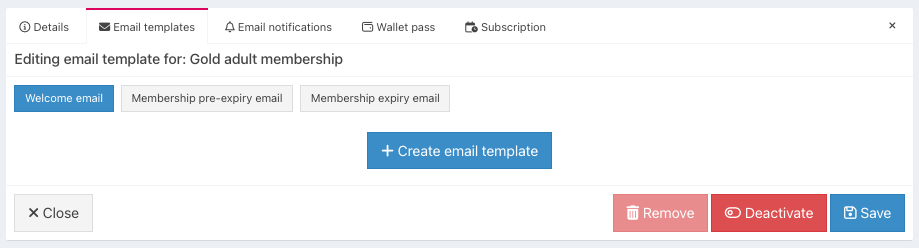
Click the Email templates tab, then select the type of email template you want to create:
Welcome email
Membership pre-expiry email
Membership expiry email
Click the blue Create email template button.
Edit your email template as required.
You will be able to add or edit:
- Email subject - The subject of your email
- Email from name - This will pre-populate with the name of your venue
- Email reply to email address(es) - If reply emails are sent, this is the email address they will go to
- Title - The text that will appear as the title of the Member type email
- Header - The introduction to what your Member type is
- Body - The main text of your Member type
- Footer - The closing text for your Member type
The Email name and Email description will not be visible to members, only to you.
You can personalise your emails using the replacement tags displayed in the blue Email formatting section.
These tags will automatically be replaced with the relevant venue or member information when the email is sent.
The available replacement tags may differ depending on the email template you have selected.
For Membership pre-expiry and Membership expiry emails, you can also use the :member_expiry_date tag to display the member's expiry date.
The :range tag can be used in pre-expiry emails to display the number of days before expiry that the notification is sent. This is configured in the Email notifications tab.
If you need to add formatting to links in your email, you can use Markdown, a simplified form of HTML.
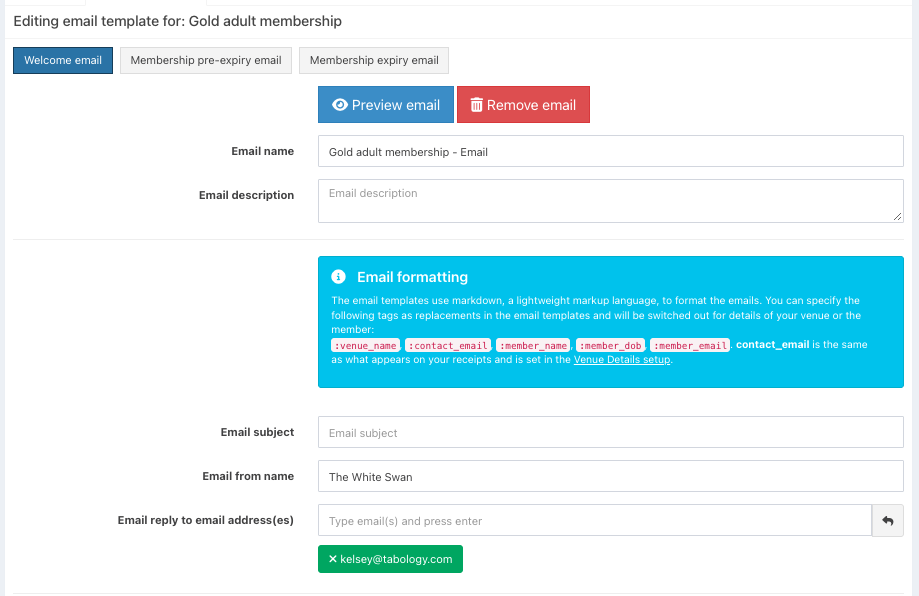
When you have edited your template as required, scroll to the top of the page and click the blue Preview email button to see how your email template will look.
If you are happy with the preview and don't need to do anything else, you can Activate your Member type.
Alternatively, if you don't want to activate your Member type just yet, click the blue Save button.

When you have saved your email template, an email icon will display under your Member type.

After creating your email template, you may like to create a wallet pass for your Member type.
Was this article helpful?
That’s Great!
Thank you for your feedback
Sorry! We couldn't be helpful
Thank you for your feedback
Feedback sent
We appreciate your effort and will try to fix the article