To enter a rota for an upcoming week, go to Staff & Rotas > Staff Rotas from your Back Office dashboard.
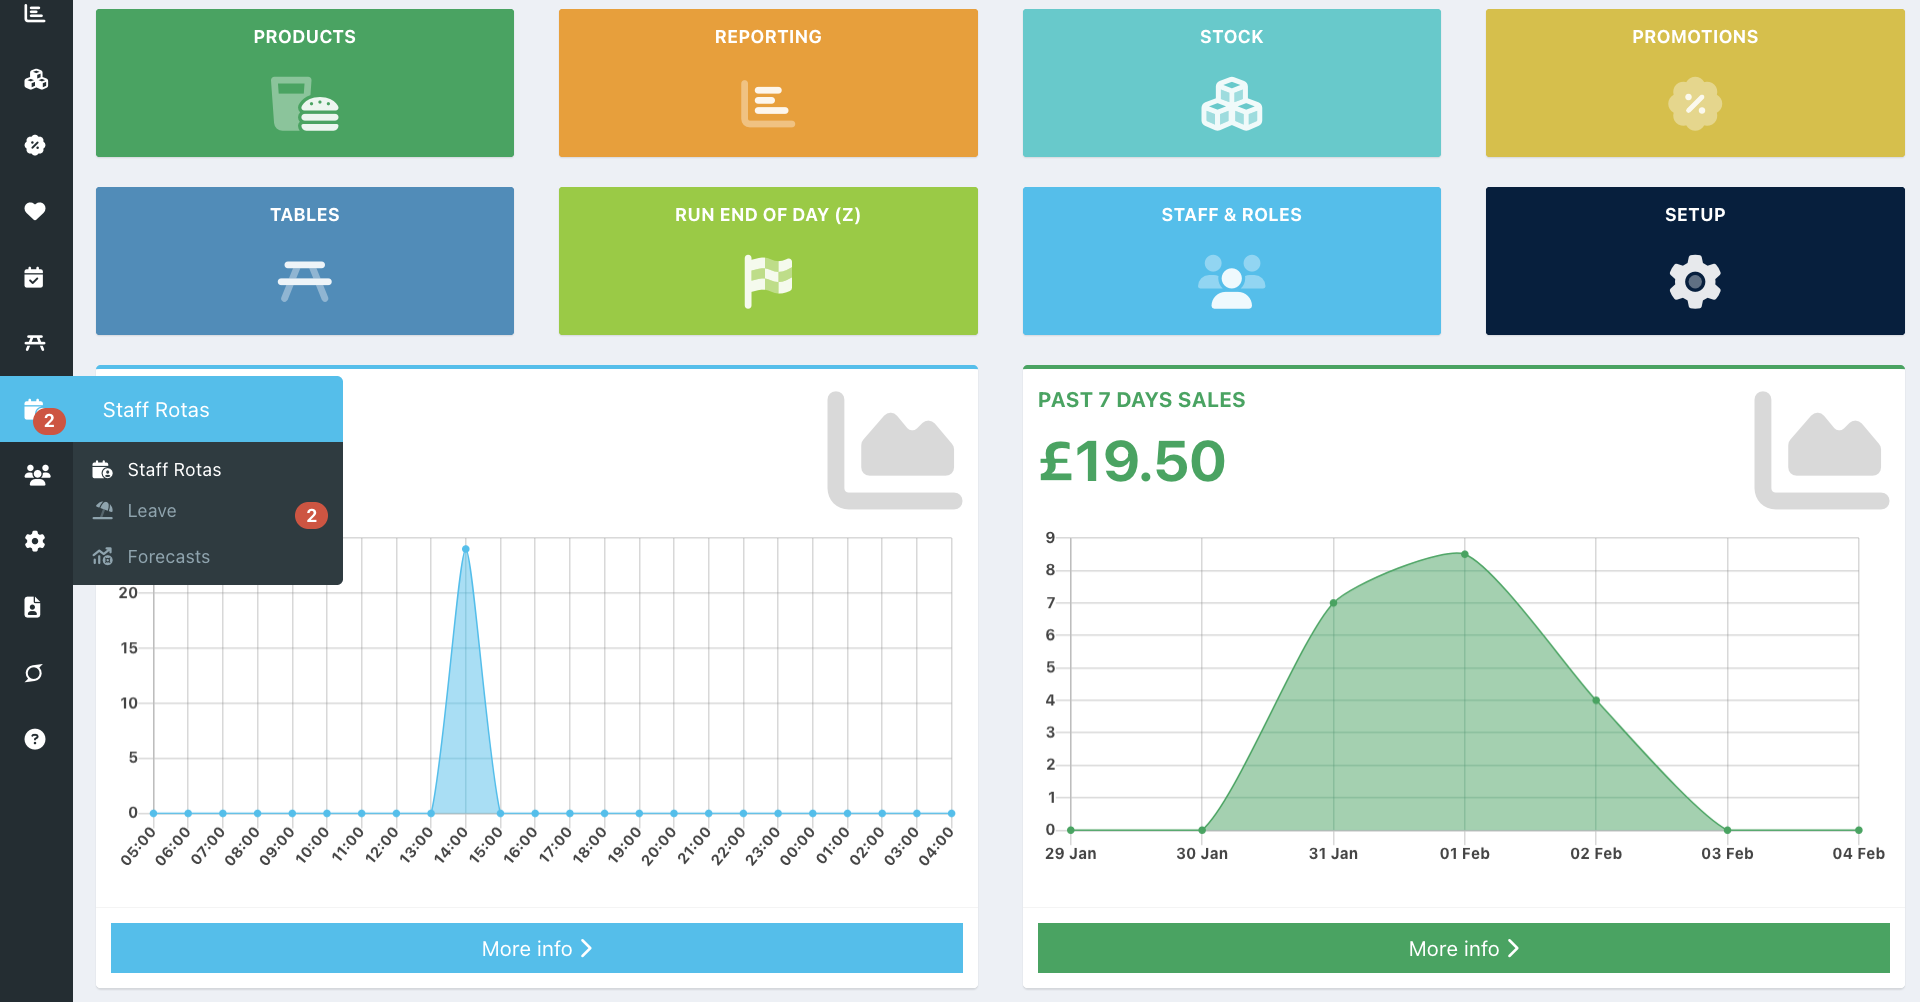
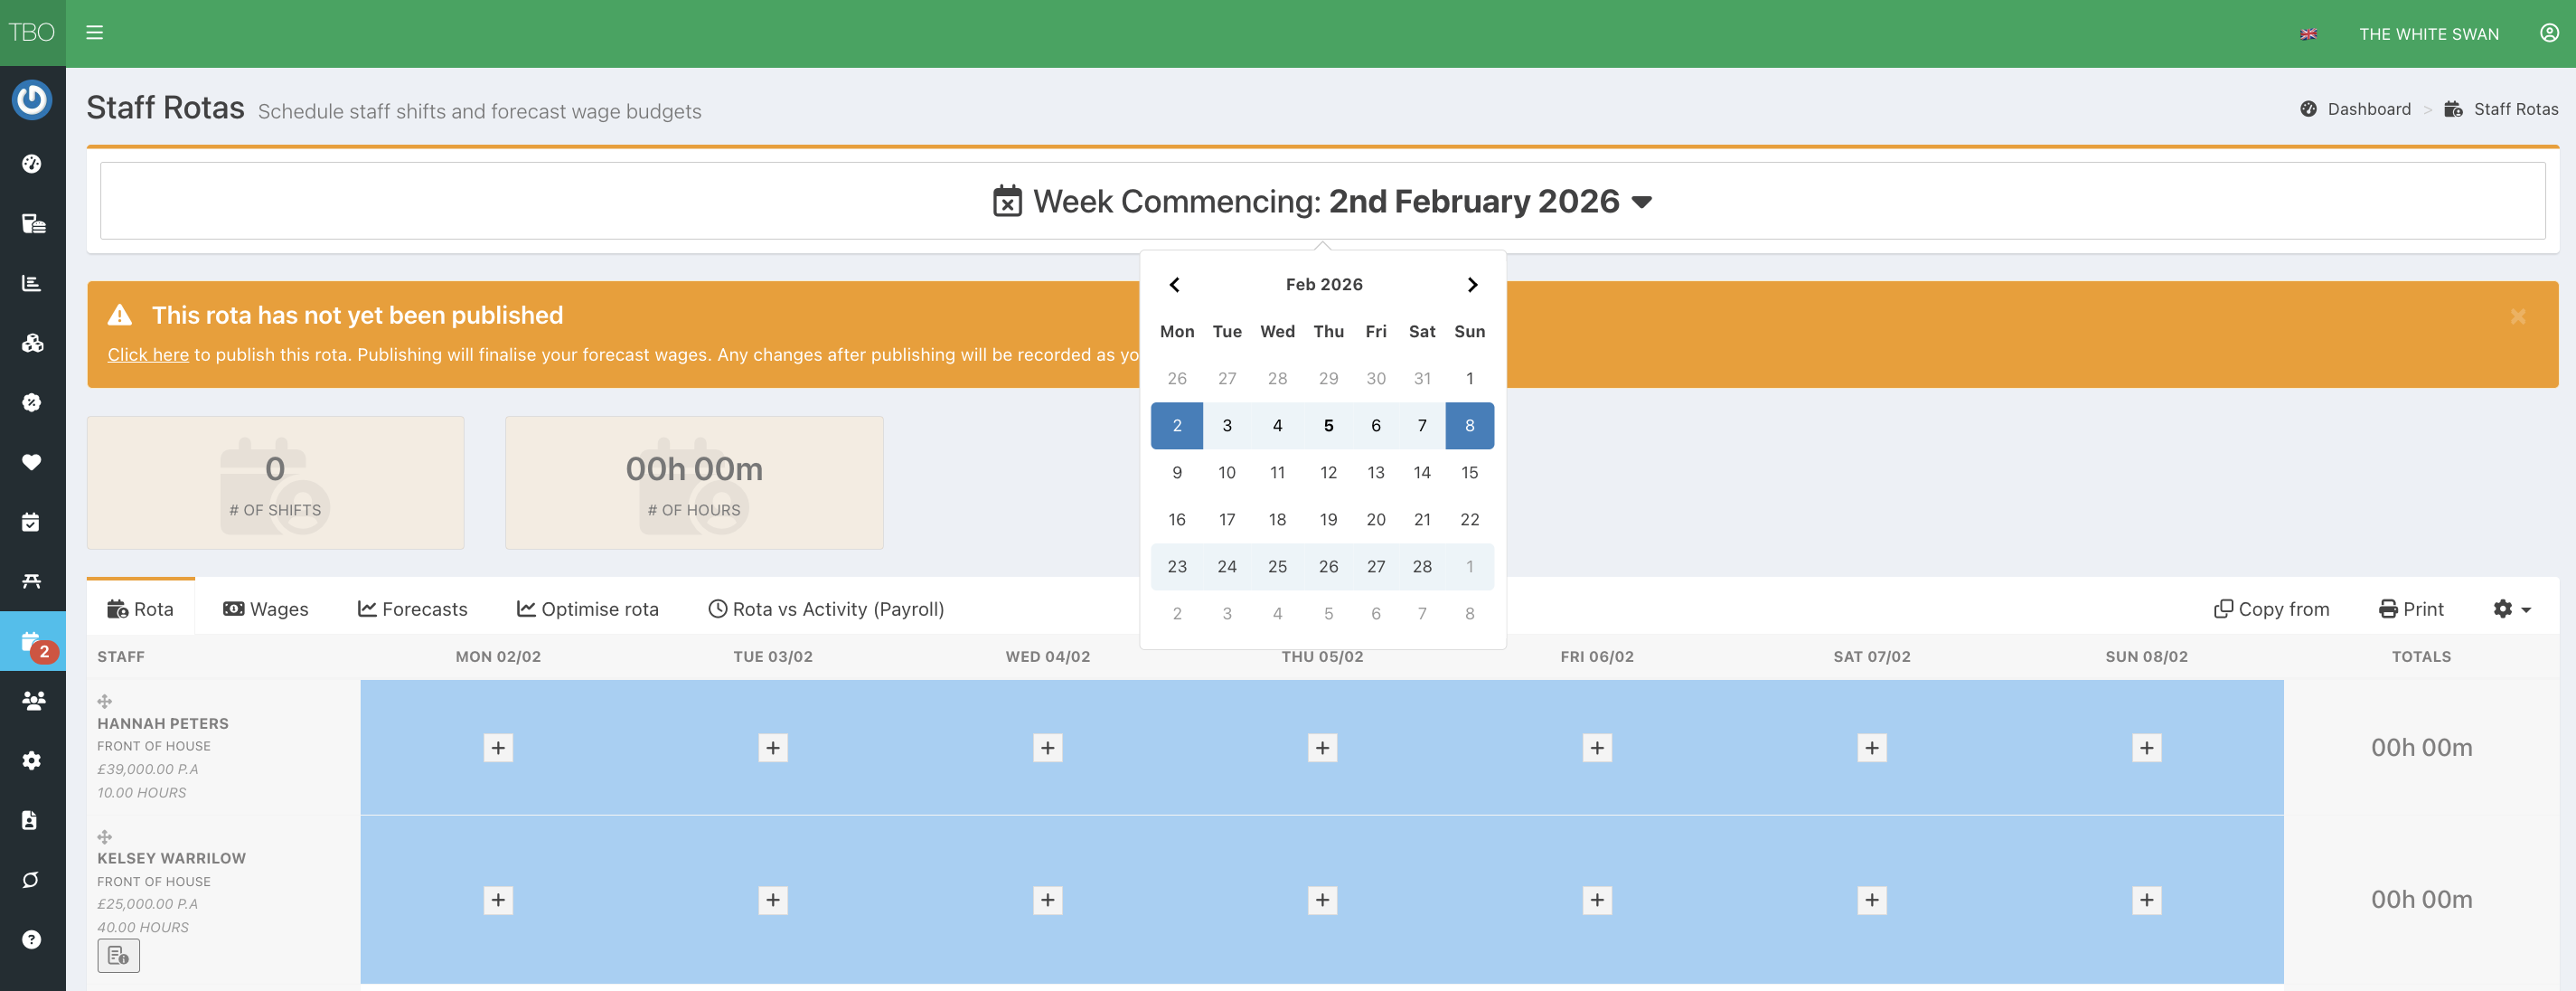
You will see your rota for the current week and can switch to a future week's rota if needed by clicking anywhere on the Week commencing title.
The calendar will display, and you will be able to select the required week.
Before entering your rota, you will want to have entered your sales forecasts so you can see your forecast wage percentage for each day and the week as a whole.
You can enter your sales forecasts:
- just for the week on the Forecast tab of the rota
- one month at a time in the Forecasts module
- by uploading a spreadsheet containing your forecasts
Copying a rota from a previous week
If you have entered a rota for any previous weeks, you can copy the shifts from one of these to the rota you are entering. This can save you a lot of time if your shift patterns are fairly similar from week to week. To do this click on the Copy from button at the top right of the rota.

You can then edit or delete shifts by hovering your mouse over the shift, and add shifts as described below.

You can move a shift by hovering over the shift, clicking on the drag icon, and dragging and dropping the shift to a different day or staff member.

You can copy a shift by hovering over a shift, clicking on the copy icon, and dragging and dropping the shift to a different day or staff member.

Adding your shifts manually
If this is your first rota, or if your rota will not be similar to a previous week, you can enter the shifts manually.
Before entering a shift for a staff member, you can check to see if there are any notes saved against the staff member, which may be relatable to the rota.
To view any notes for a staff member click the Notepad icon underneath the staff member's name.
The notes for the staff member will display over the blank rota.
To enter a shift for a staff member, click on the + button next to the staff members name and the day you want to enter the shift for.
You will then be able to enter the start and end time for the shift, as well as the type of shift. As you do so you will see the following:
- Shift hours
- Base pay for the shift
- Overheads (calculated as a percentage of base pay - see below)
- Total cost of the shift
Note: You won't see the shift costs as you add a shift for a salaried staff member, but a cost will be attributed to the shift once it's added. As salaried staff members are a fixed cost, their weekly cost will remain the same regardless of the number of hours they work. Instead the hourly rate used will change based on the number of hours they are scheduled on for (the hourly rate will reduce as hours are added).

The overhead that is added to each shift is a configurable % of the base pay that you can set to represent any overheads you would like included in your rota costs. A typical example in the UK is employees national insurance and/or pension contributions.
By default the overhead is set to 13.8%, but you can change this on the rota settings tab under Set Up.
The area for the shift will use the staff members default area, but you can override this on an individual shift if needed.

Pressing the tick button will display the entered shift. You can then add further shifts as needed.

You can also record:
- ad hoc holiday shifts
- staff sickness
- a no show
- Any days / times that a staff member is unavailable to work
Note: If you have disabled the setting to add holiday & sick shifts via the rota, these options will not display in the Shift type dropdown.

Viewing leave
If you have setup leave types, you'll see any approved leave requests on the rota. Hover over the leave request and click the Eye icon to view it.

The leave request will pop up, and you can see its details and a breakdown of the cost.

Click the blue View leave request button to view the full request and edit it if required.

Ad hoc holiday shifts
If you have enabled ad hoc holiday shifts to be added to the rota, these are not linked to any leave requests and won't track against any leave balances. The cost attributed to ad hoc holiday shifts will be estimated pro rata based on a staff members salary or hourly wage and contracted weekly hours (each days holiday will be costed at 1/7th of a staff members usual weekly wage).

Sickness
No cost will be attributed to sickness absences.
No show
No cost will be attributed to no show shifts.
Unavailable
No cost will be attributed to unavailable shifts.
Viewing hours
As you add shifts you will see the total hours for each staff member on the right hand side and the total for each day at the bottom of the rota.
The total hours for the week are displayed in the bottom right corner of the rota.

Viewing costs and wage percentages
You can see the costs attributed to your rota as well as the resultant wage percentages by clicking on the Wages tab.
You can also add, edit and delete shifts while viewing the wages tab and immediately see the impact to your costs and wage percentages for the day and week.

After entering all of your shifts press Save Changes.
You can also print your rota by pressing the print button in the top right corner (note the print out will not display any wage information).
Once you have entered all of your shifts you can publish the rota. This will permanently save the shift and sales forecasts as your forecast figures for the week. Any changes made to the rota after publishing it will be saved against your actual figures for the week.
Was this article helpful?
That’s Great!
Thank you for your feedback
Sorry! We couldn't be helpful
Thank you for your feedback
Feedback sent
We appreciate your effort and will try to fix the article