This article covers how to create a booking from the bookings list view or grid view on the EPOS. You can also create bookings on the Back Office and from the EPOS table plan.
To create a booking on your EPOS, go to the EPOS Screen. On the bottom right-hand corner of the screen, press the More button.
Then press the Bookings button to go to the bookings module.
You will be presented with the current day's bookings in either list view or grid view (whichever view you last used). You can toggle between the list view and grid view at the top of the screen.
Note: To view bookings for a future day, you can change the date at the top right of the screen.

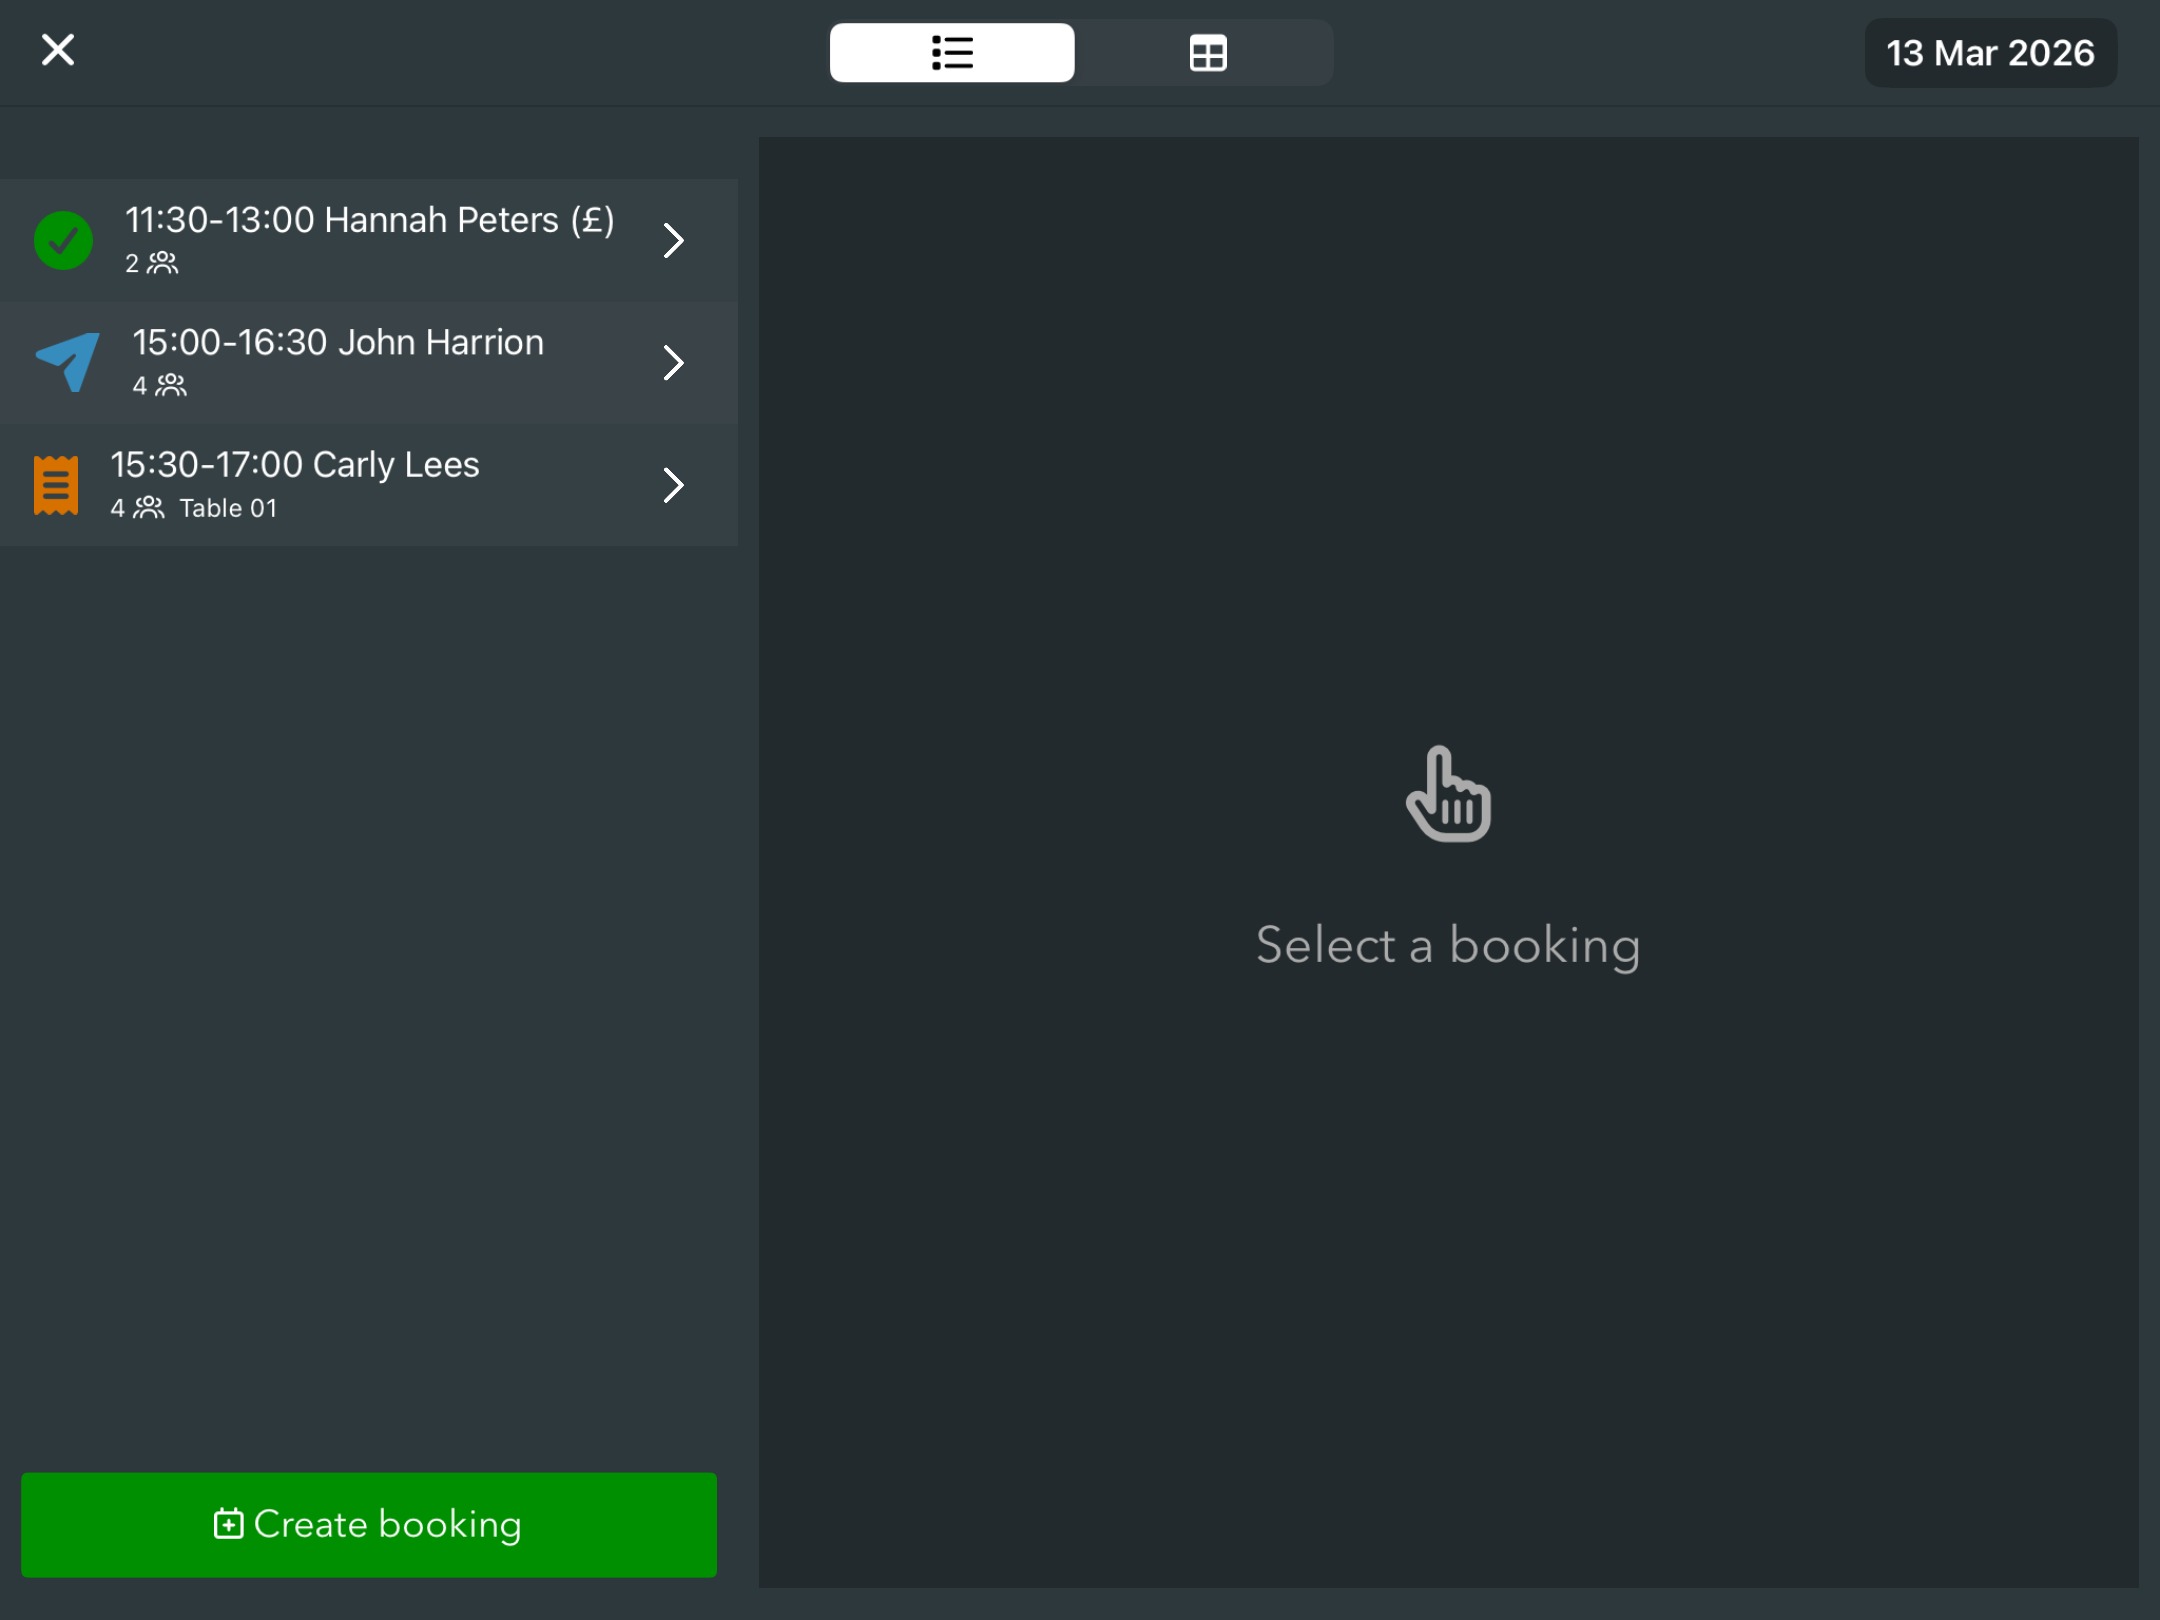
To create a booking from the List view, press the green Create booking button at the bottom of the bookings list.
To create a booking from the Grid view, click on the desired table on the left-hand side, then click Create booking for table.

Note: When creating a booking on the grid view, the Table field will pre-populate with the table you clicked on to create the booking.

If you start by entering the customer's name into the name field, any customers with details stored (previous guests or loyalty members) will be returned in a list for you to choose from. This will enter the customer's name, email & phone number.
Note: If the customer is a member of your loyalty scheme, this will also link the booking to the loyalty member, meaning they will earn points and trigger any applicable loyalty promotions on the booking tab.
Alternatively, enter the guest's email address in the email field, then press the magnifying glass button to see if their details are stored from a previous booking.
If the customer has booked with you before, you will be able to see their booking history, and can add their details to your new booking by pressing the Set details onto booking button.
If you use booking types, you can select the right booking type for the booking.
Note: You can only select a booking type that is valid for the booking's date and time. Similarly, once you have selected a booking type, you can only change the date and time to a slot that is valid for the booking type.
To allocate a booking to a table, click on the tables field to pull up a list of all available tables for the time of the booking.
Note: If you have set up booking types linked to specific tables or areas, you will only be able to allocate a booking to a table that is valid for the particular booking type.
If the booking you are allocating is for the same day, you will also see if any tabs are currently linked to any of the tables. This is so you can avoid allocating it to a table that is currently occupied and might still be when the booking is due. You can still choose to allocate a booking to a table with a tab linked to it if you are happy the table will be free when the booking is due to start.
You can allocate the booking to one or more tables. Selected tables are indicated by a blue tick.
When you have selected your tables, click the blue Done button in the top left of the screen.
If you have entered all of the relevant information for the booking, press the green Add button in the bottom right.
The newly created booking will display in the Bookings list view and Grid view formats.


When the customer arrives for the booking, you can open a tab with any deposit on the tab as credit.
Was this article helpful?
That’s Great!
Thank you for your feedback
Sorry! We couldn't be helpful
Thank you for your feedback
Feedback sent
We appreciate your effort and will try to fix the article