When you have created your Member type, you can set up and customise a specific wallet pass, that only members who join the Member type will receive.
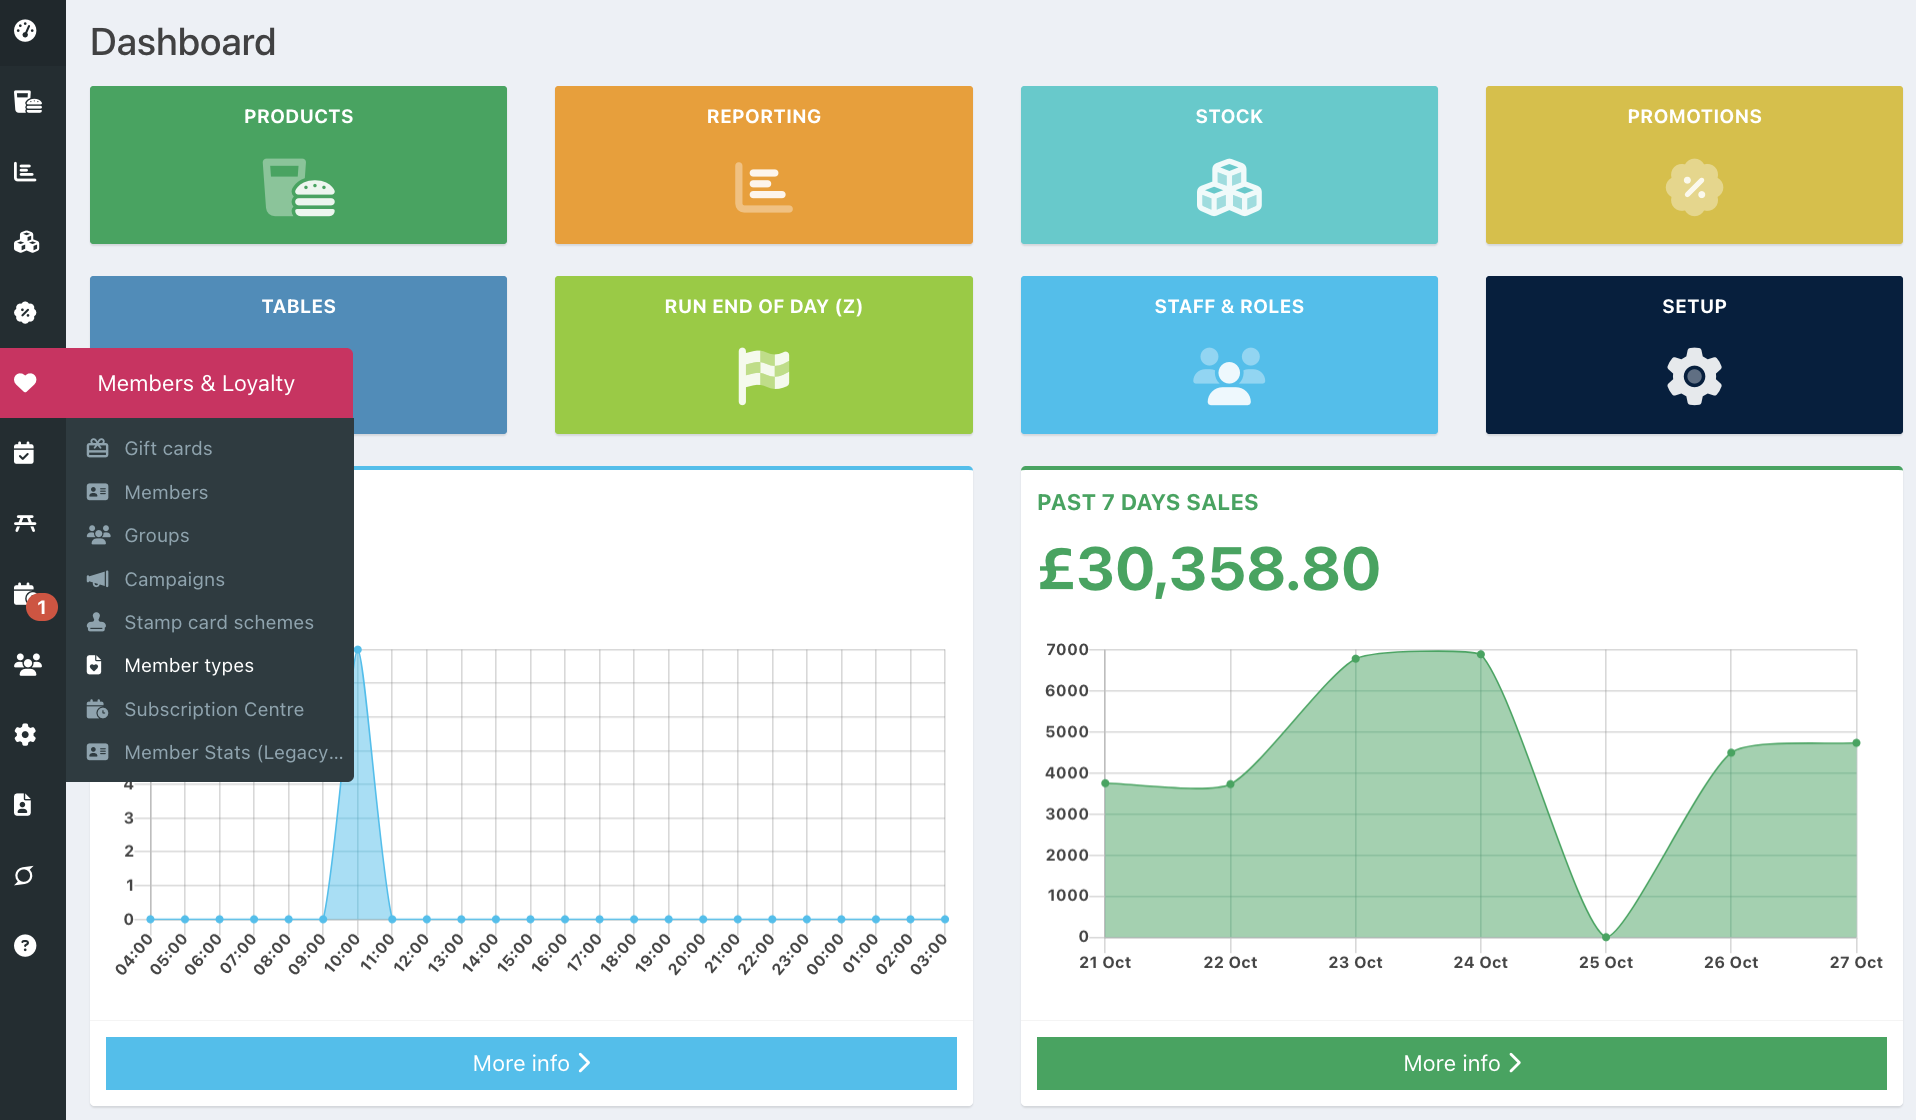
To create a wallet pass for your Member type, go into your back office and select Members & Loyalty > Member types from the left-hand navigation.
Locate the required Member type you want to add a wallet pass to and click the Blue edit icon.
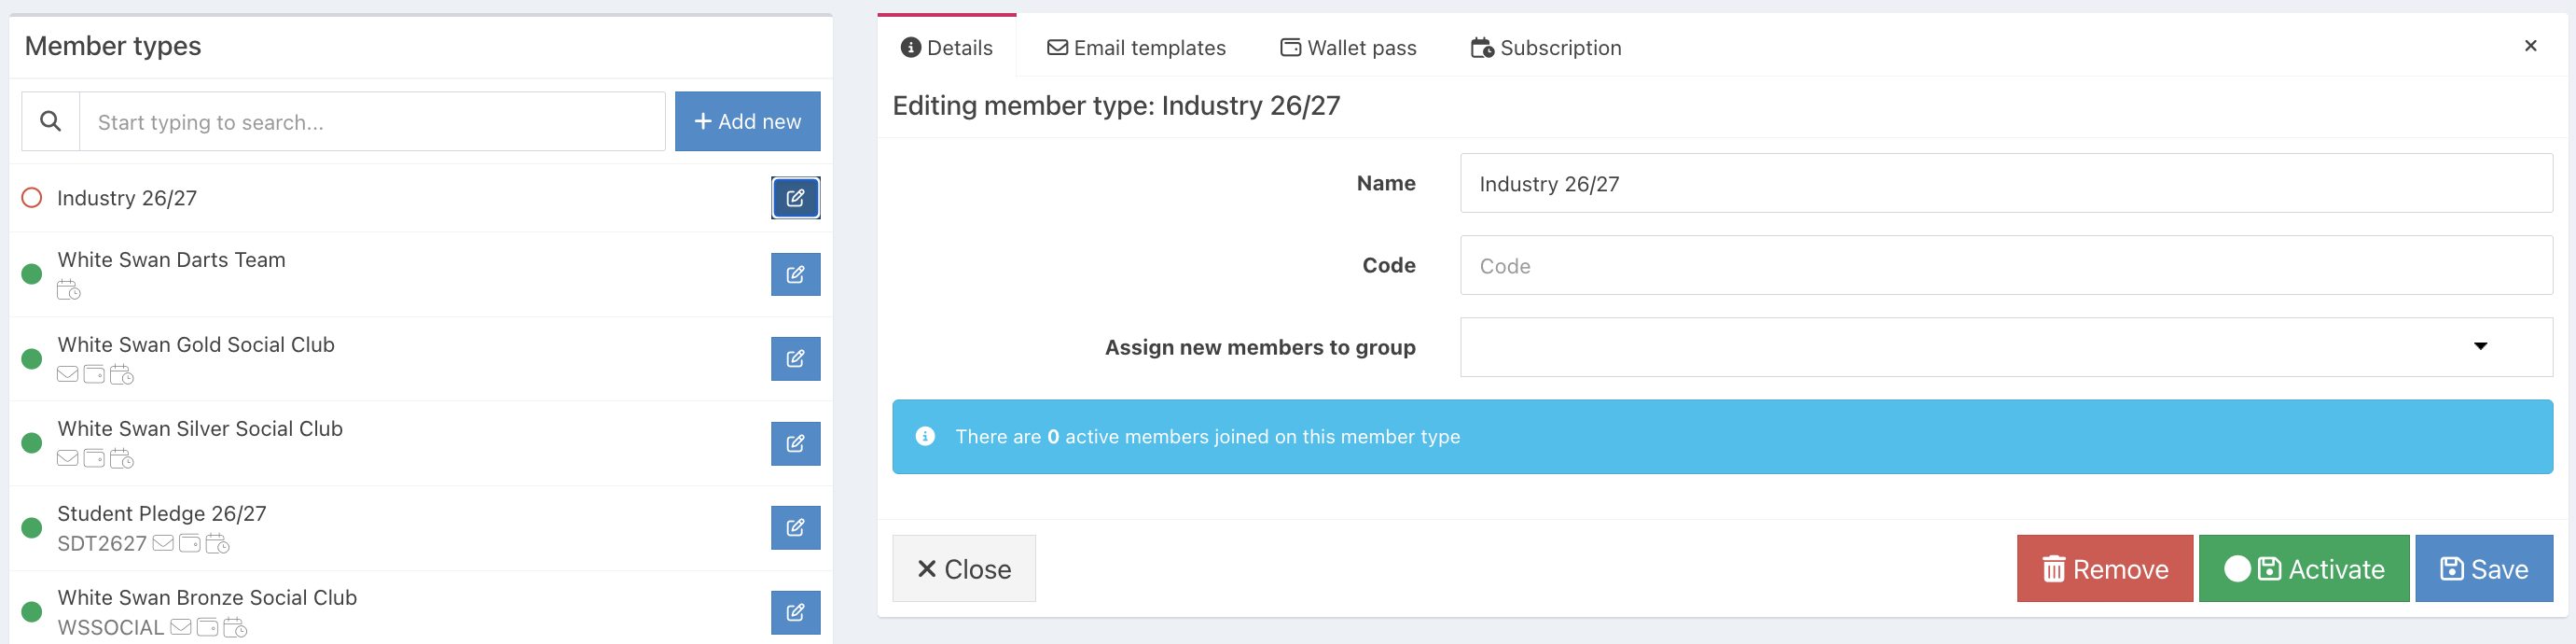
The Member type will display to the right of the screen.
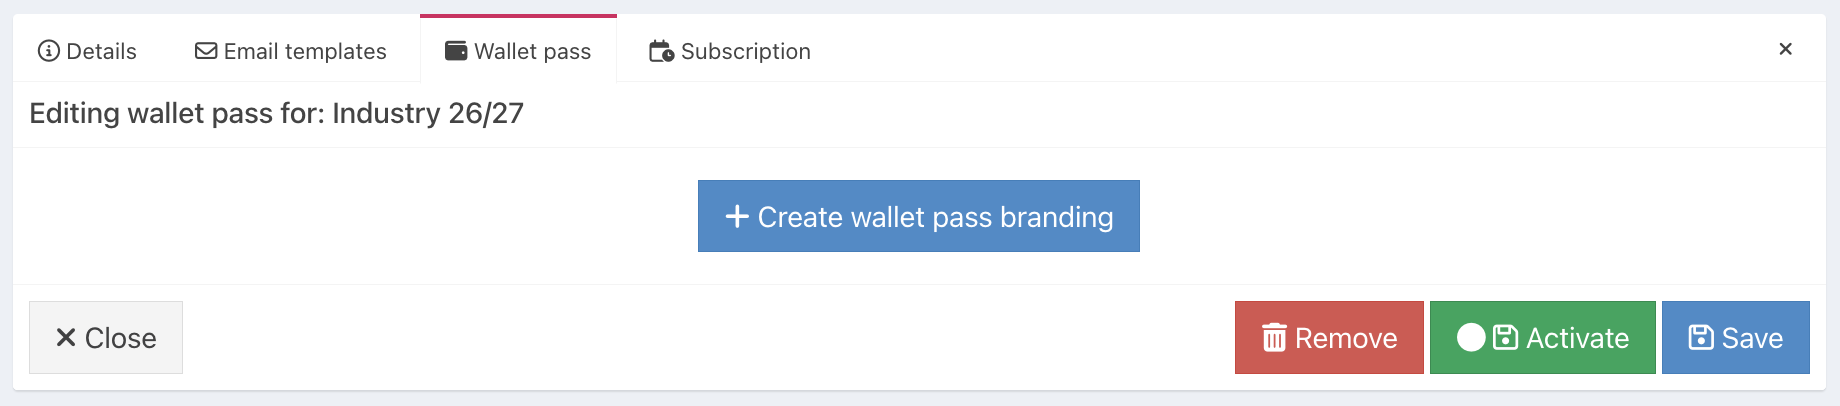
Click the Wallet pass tab, followed by the blue Create wallet pass branding button.
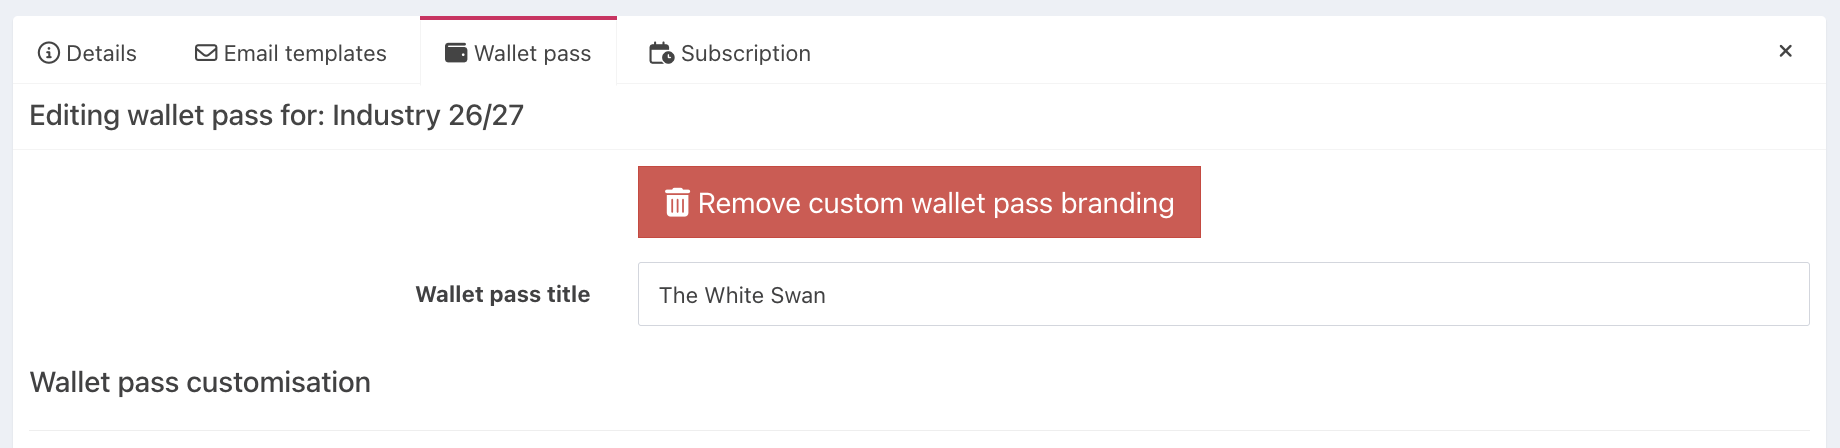
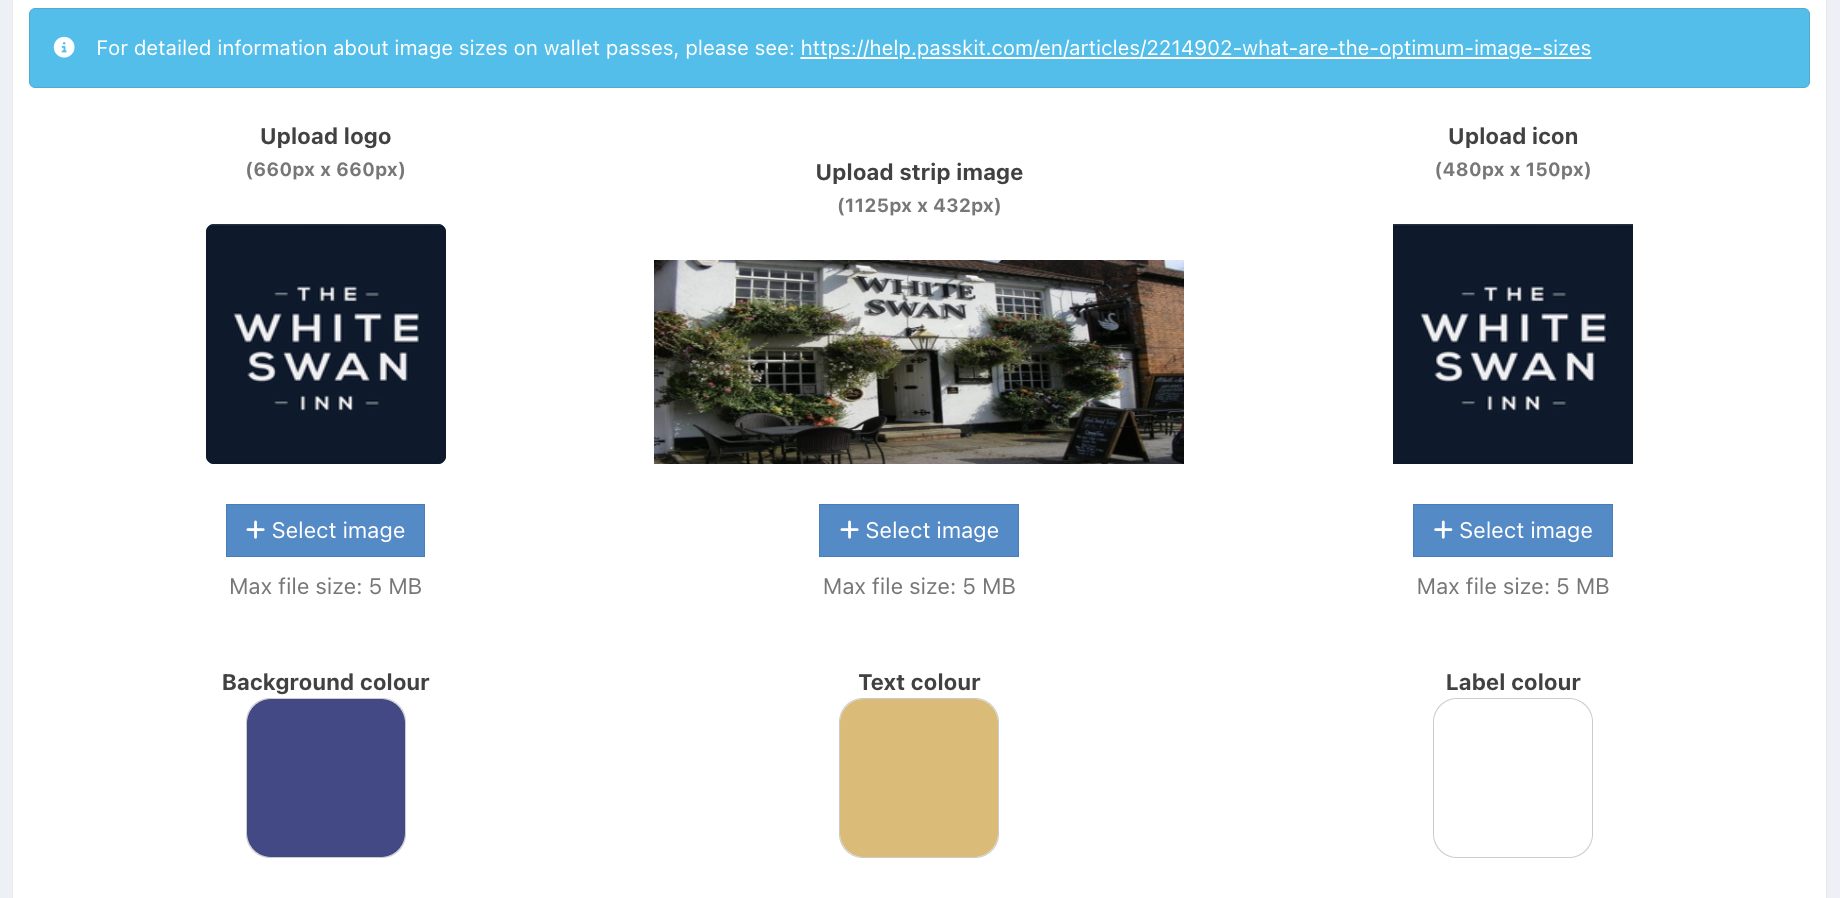
You will be able to customise how your wallet pass will look:
- Venue name - This will be displayed at the top of the wallet pass and on any push notifications (push notifications are only supported by Apple)
- Upload a logo - Displayed in the top left corner of an Apple wallet pass
- Upload a strip image - Image across the top section of the Apple and Google wallet passes
- Upload an icon - Displayed in the top left corner of a Google wallet pass
- Add a label colour - Colour for text labels on Apple passes
- Add a foreground colour - Colour for text field values on Apple passes
- Add a background colour - Main colour of your background
As you customise your wallet pass, you can see an updated preview of how it will look on both Apple and Google devices.
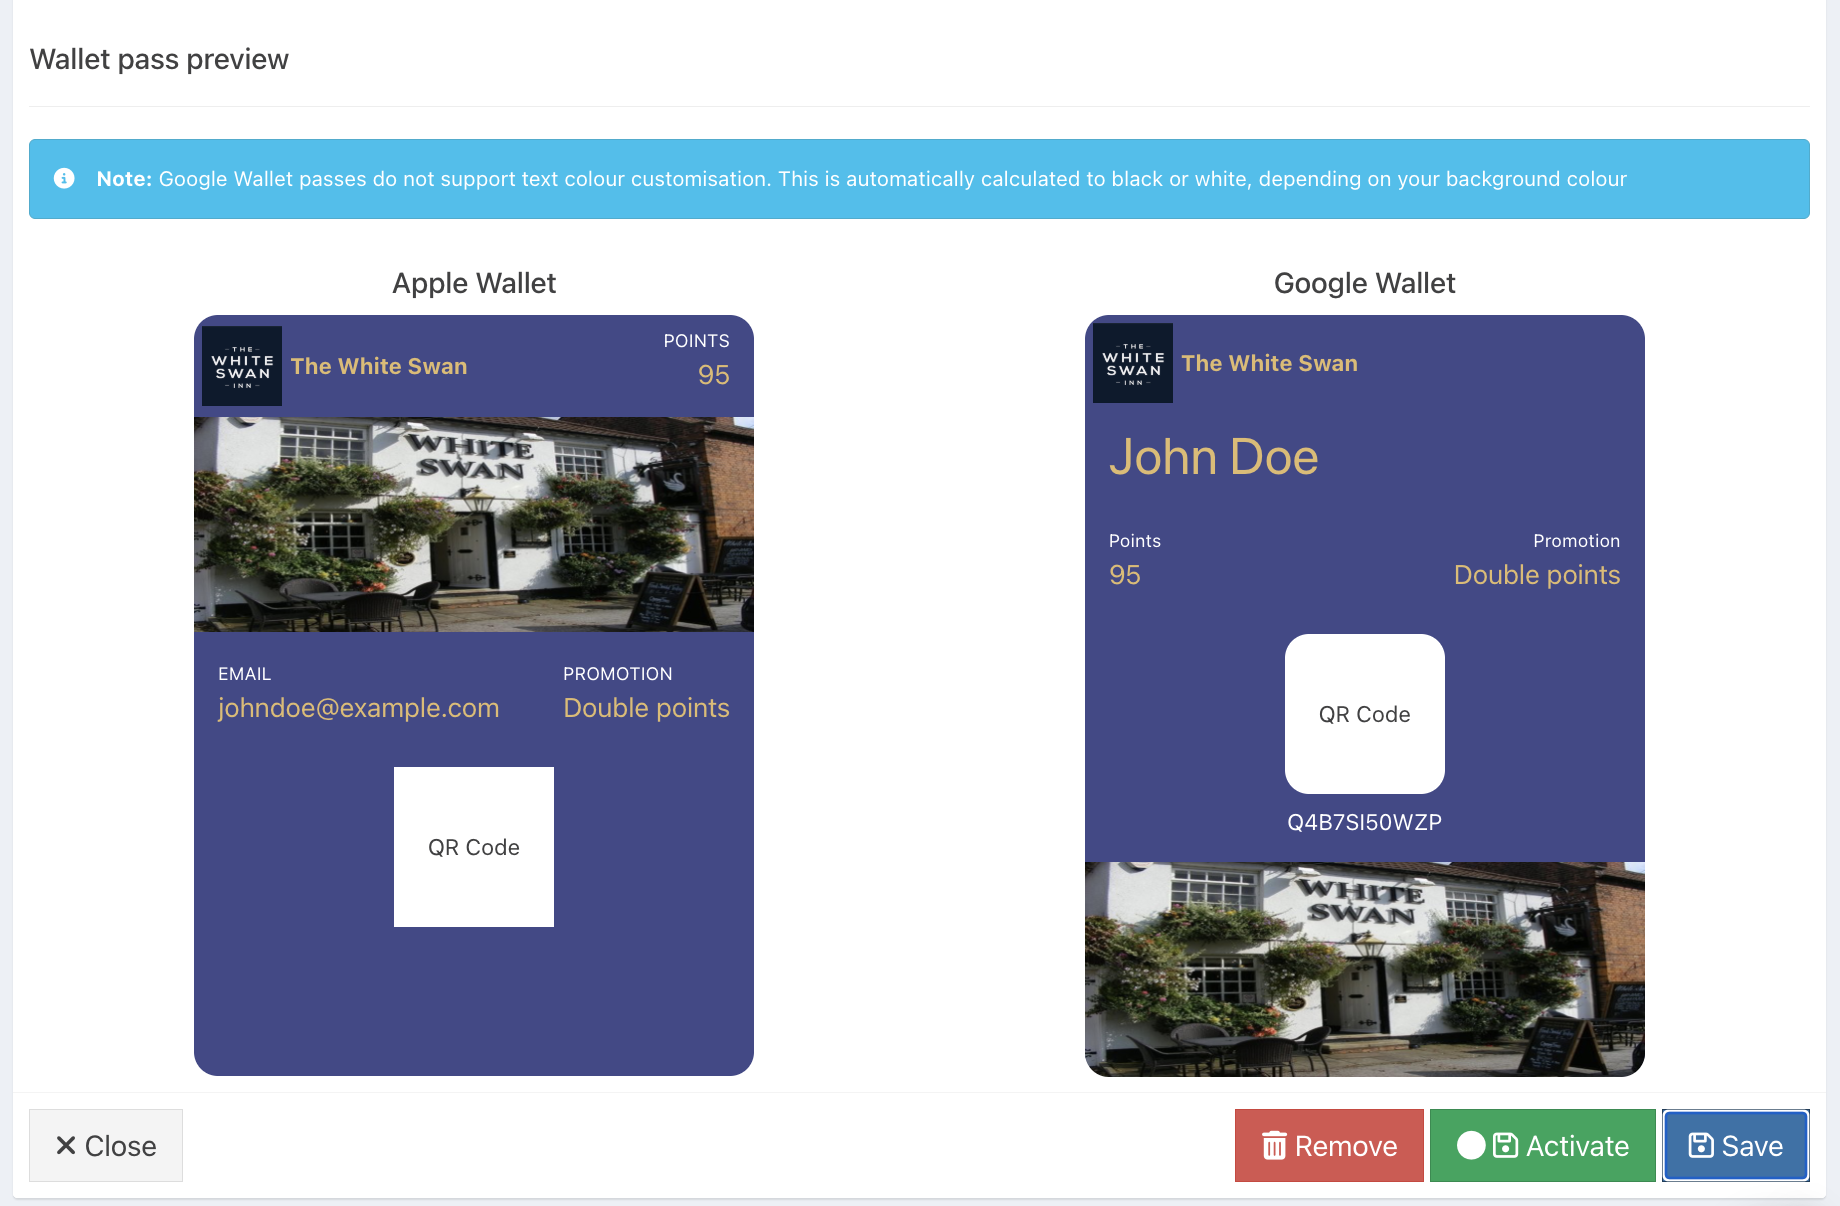
When you have created your wallet pass, if you don't need to do anything else, you can Activate your Member type. Alternatively, if you don't want to activate your Member type just yet, click the blue Save button.

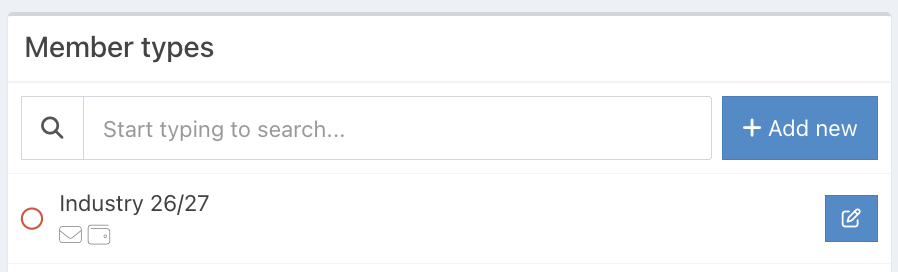
At the top of the screen, under the Member type name, you will see a pass branding icon if you have created one for your Member type.
Was this article helpful?
That’s Great!
Thank you for your feedback
Sorry! We couldn't be helpful
Thank you for your feedback
Feedback sent
We appreciate your effort and will try to fix the article