This article shows you how to add tables on the back office.
You can set up tables on the back office by selecting Tables > Tables & areas from the left hand navigation.

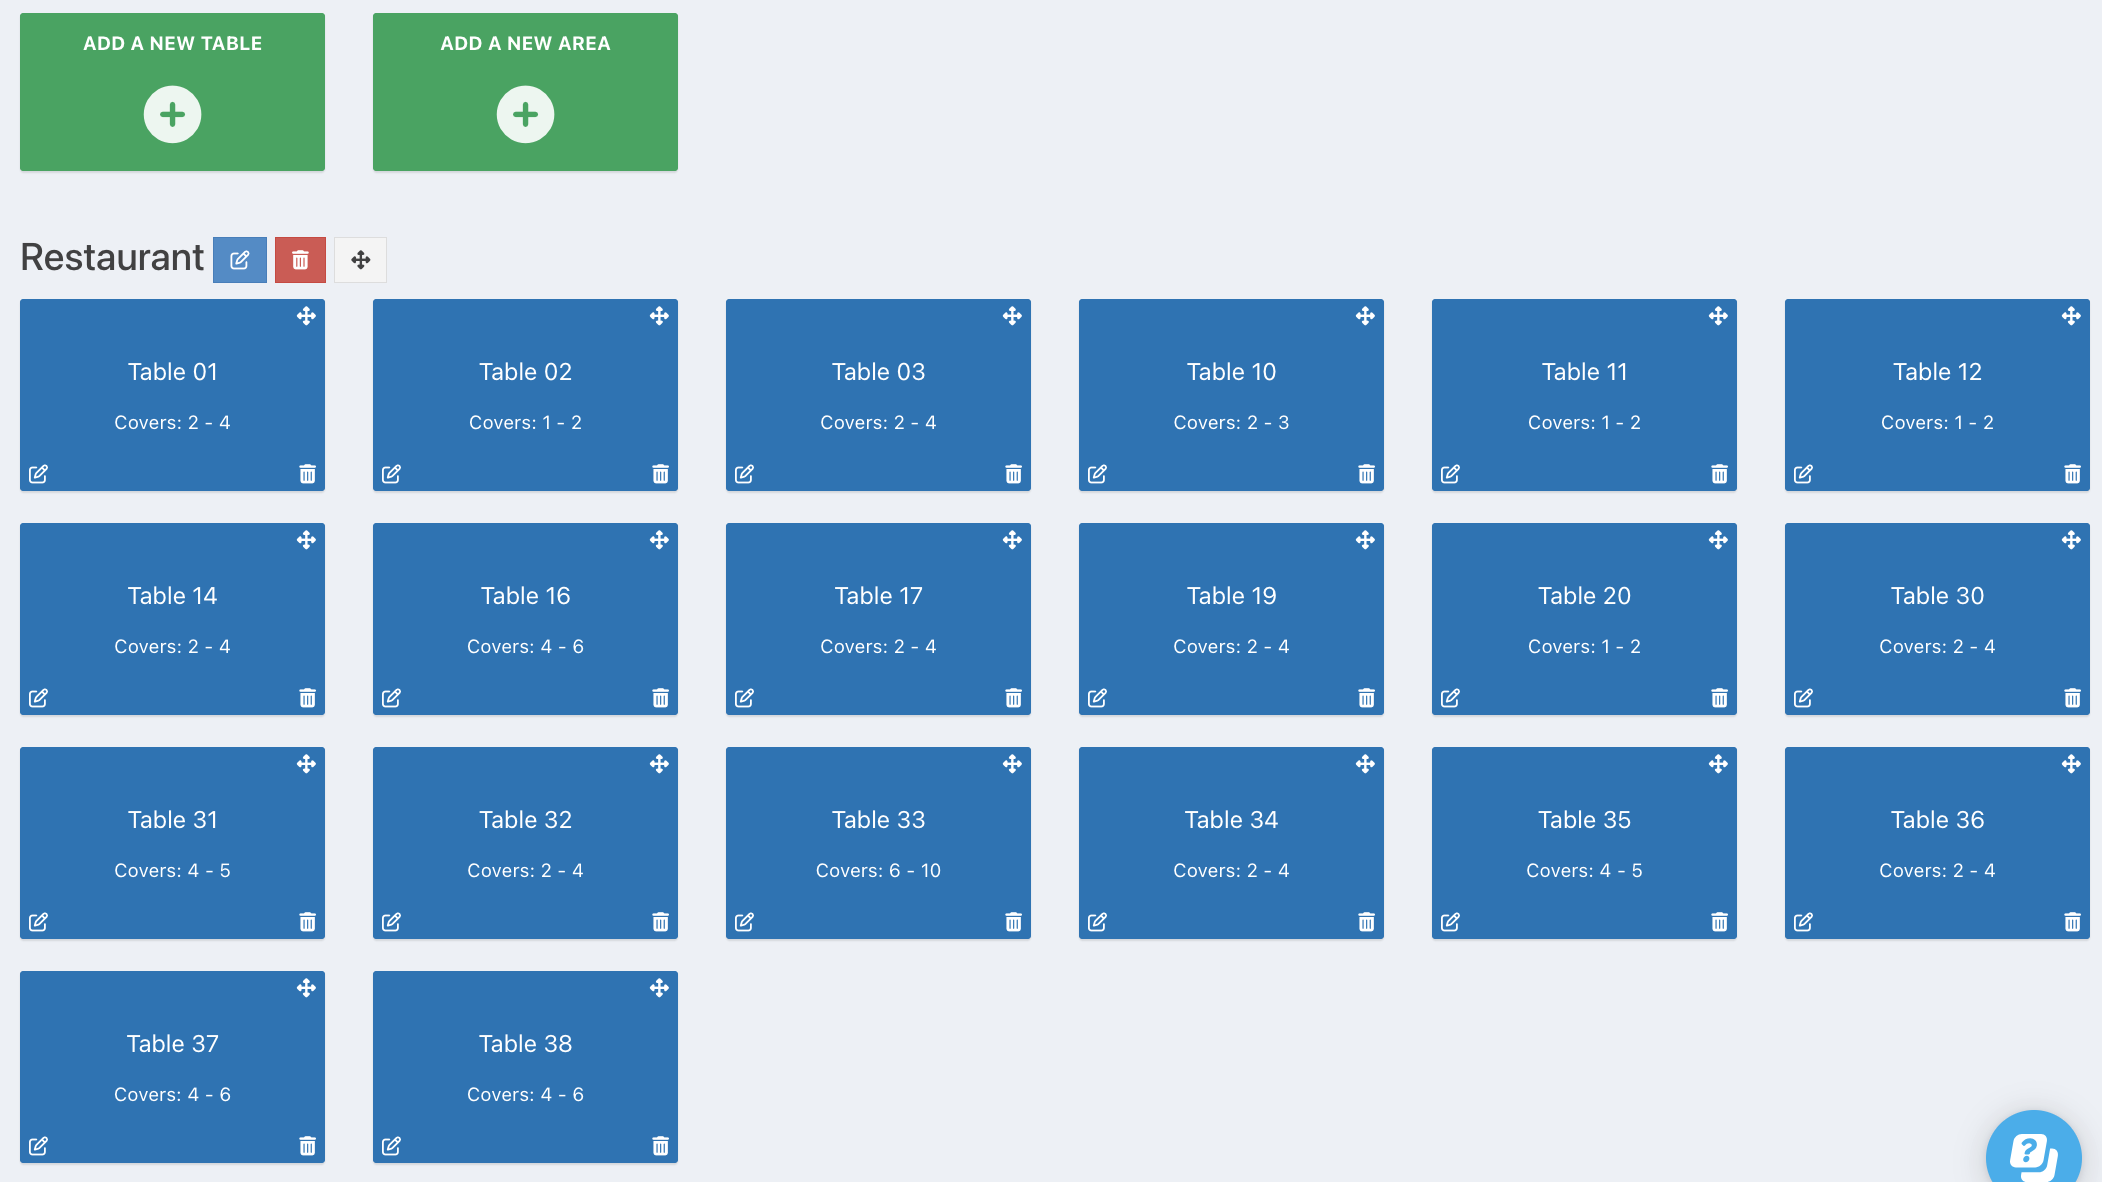
In the Tables module you can add tables or areas. To add a new table, click the green Add a new table button..
You will be presented with a form to type in the details of the new table.
- Table name: This will be the table name displayed on the EPOS and mobile ordering screens
- Min and Max covers: The minimum and maximum number of guests the table can accommodate. This is used by the booking form availability check and will be displayed on the bookings grid view to help you allocate booking to the right tables.
- Area: This is the area you want to allocate the table to. You can leave this blank if you don't divide your tables into areas
- Auto-allocate bookings : When enabled, the system automatically assigns the table to a booking when the reservation is made. You can then set an auto-allocation message to inform guests of the table availability. If disabled, the table will not be auto-assigned but will still count towards overall availability.

You can also choose to add multiple tables by toggling the switch at the top of the form to Multiple.
Here you can type a Table name prefix that will be applied to every table created, followed by a start and end number that will determine how many tables are created.
In the below example, tables 1 - 20 will be created.
You can select an Area (optional) when adding multiple tables, but if you want to specify Min or max covers, you will need to edit each table after they are created.

Once your tables are added, you will be able to add orders and tabs to these on the EPOS, and print QR codes for them for mobile ordering.
Was this article helpful?
That’s Great!
Thank you for your feedback
Sorry! We couldn't be helpful
Thank you for your feedback
Feedback sent
We appreciate your effort and will try to fix the article