One of the first things you will need to do to get up and running with your EPOS is add the products that you sell.
This article takes you through adding products based on one of the default product templates which populate much of the necessary information for you. If you are creating a product in a category without a linked template, see adding a product from scratch.
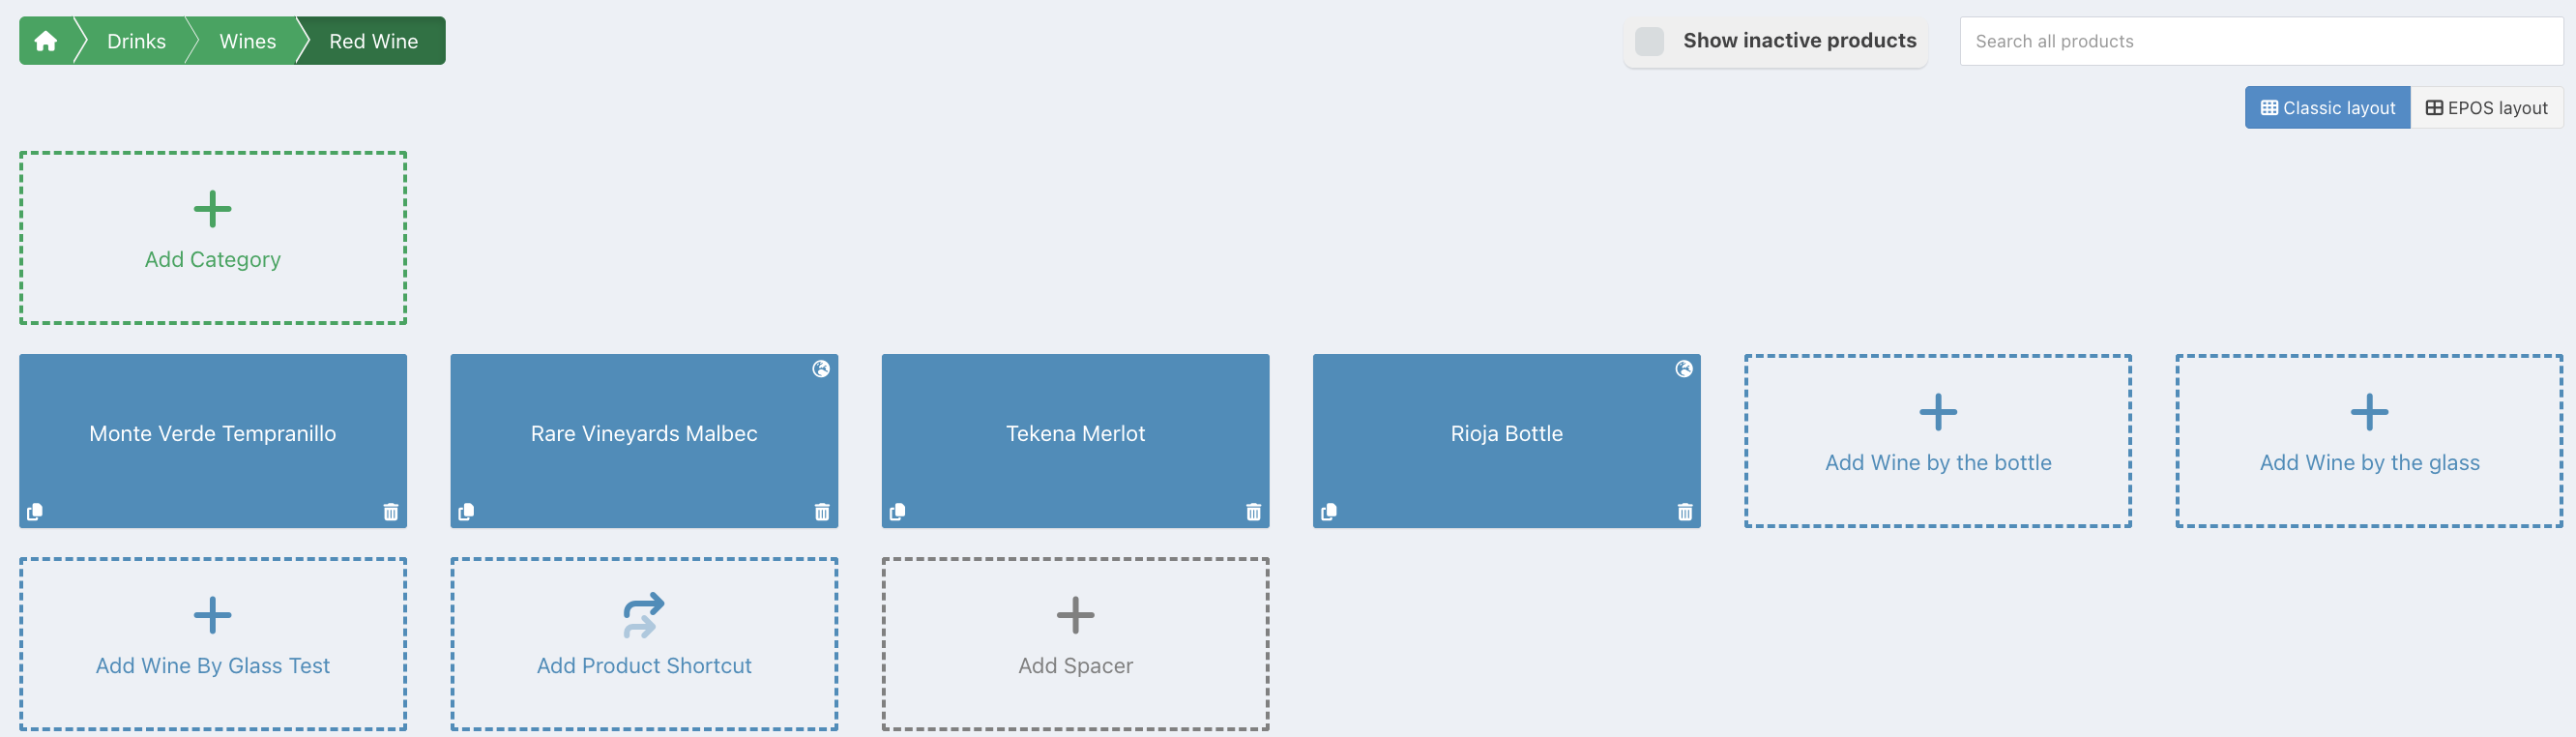
Note: If the category you are adding a product to has a linked template, the button to add a product will include the name of the template e.g. Add wine by the glass. If the category doesn't have a template linked, the button will be Add Product.
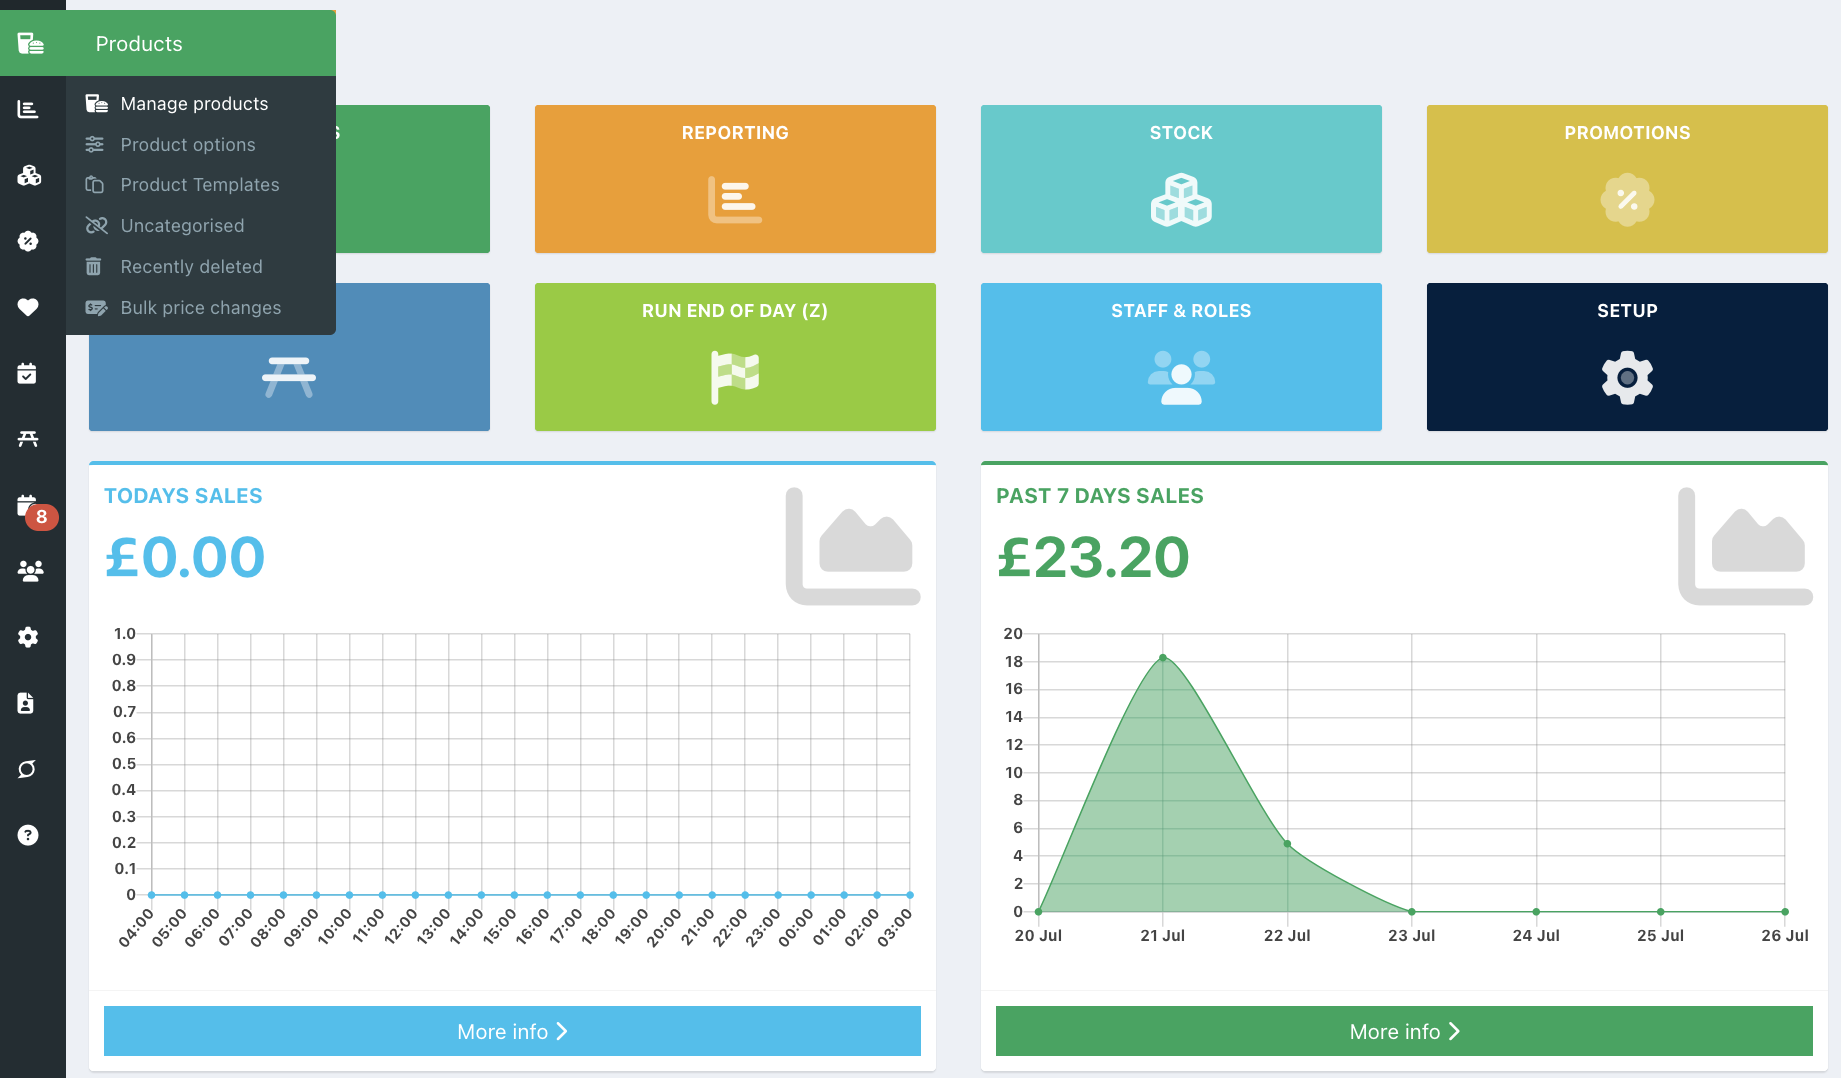
From the Back office, click Products > Manage products from the left-hand navigation bar.
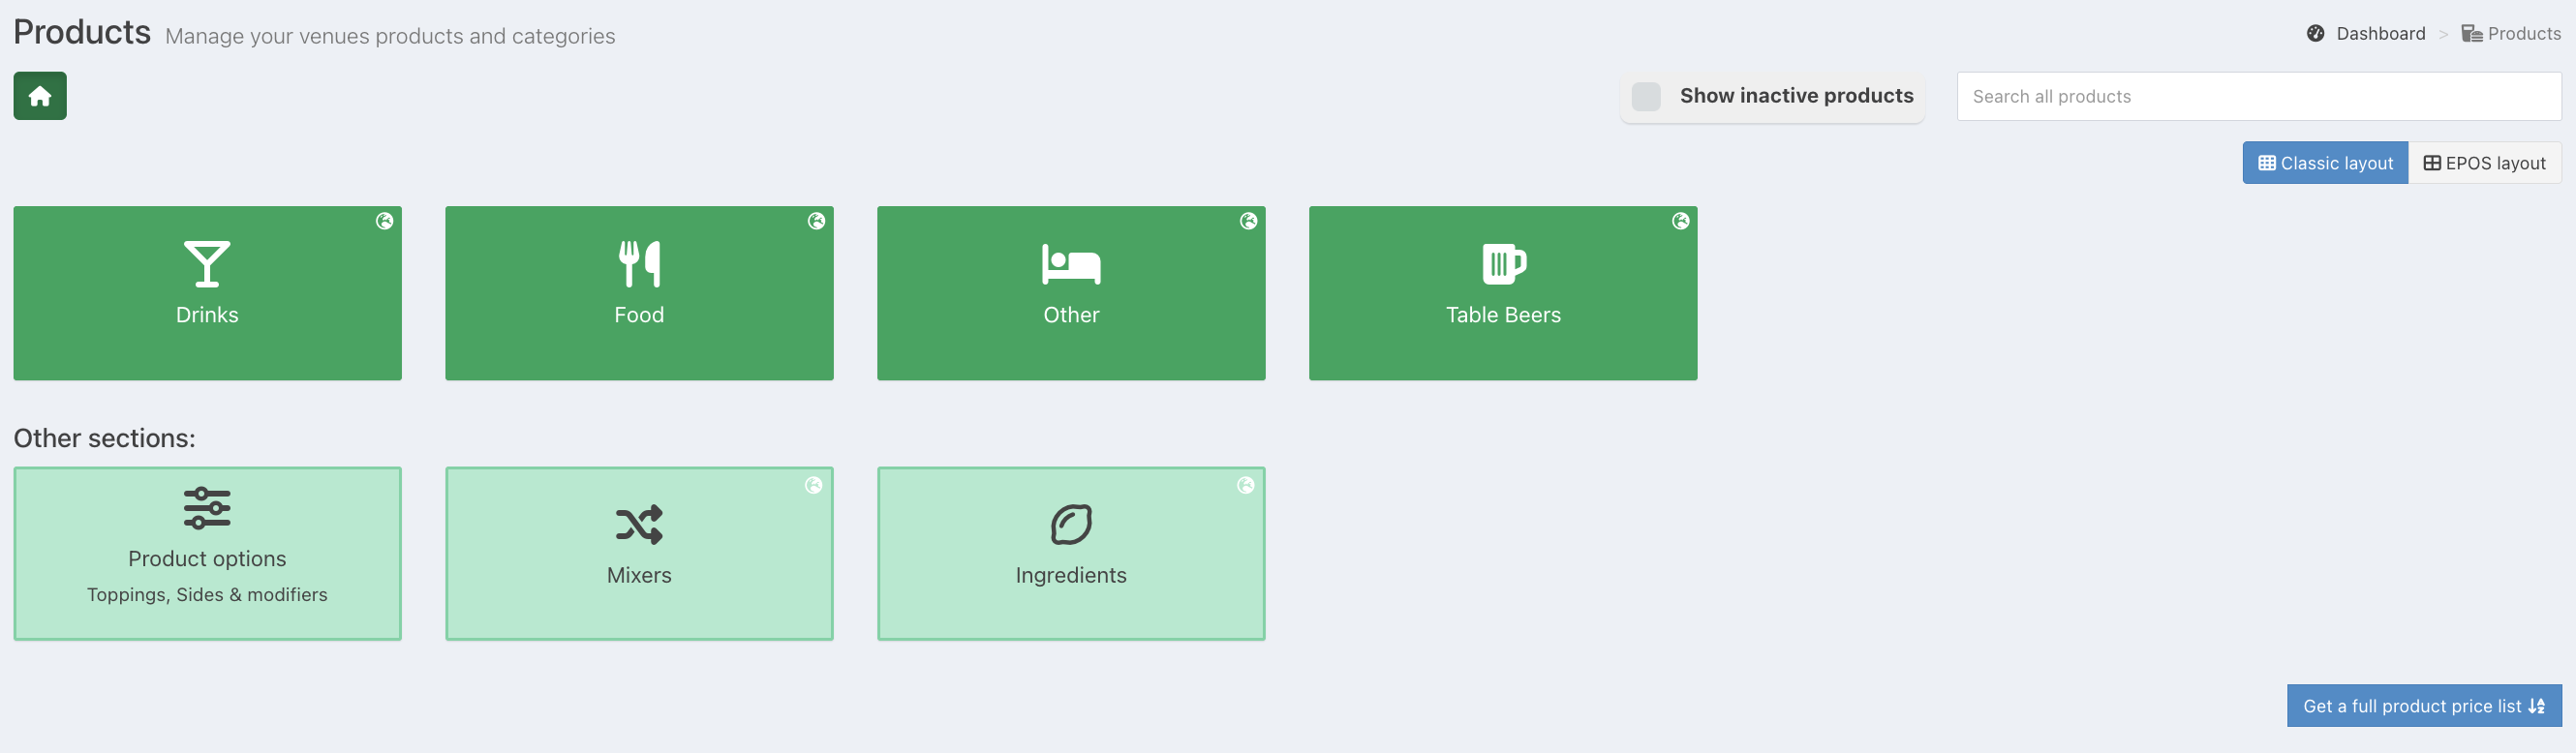
Select the category you would like to add products e.g. Drinks.
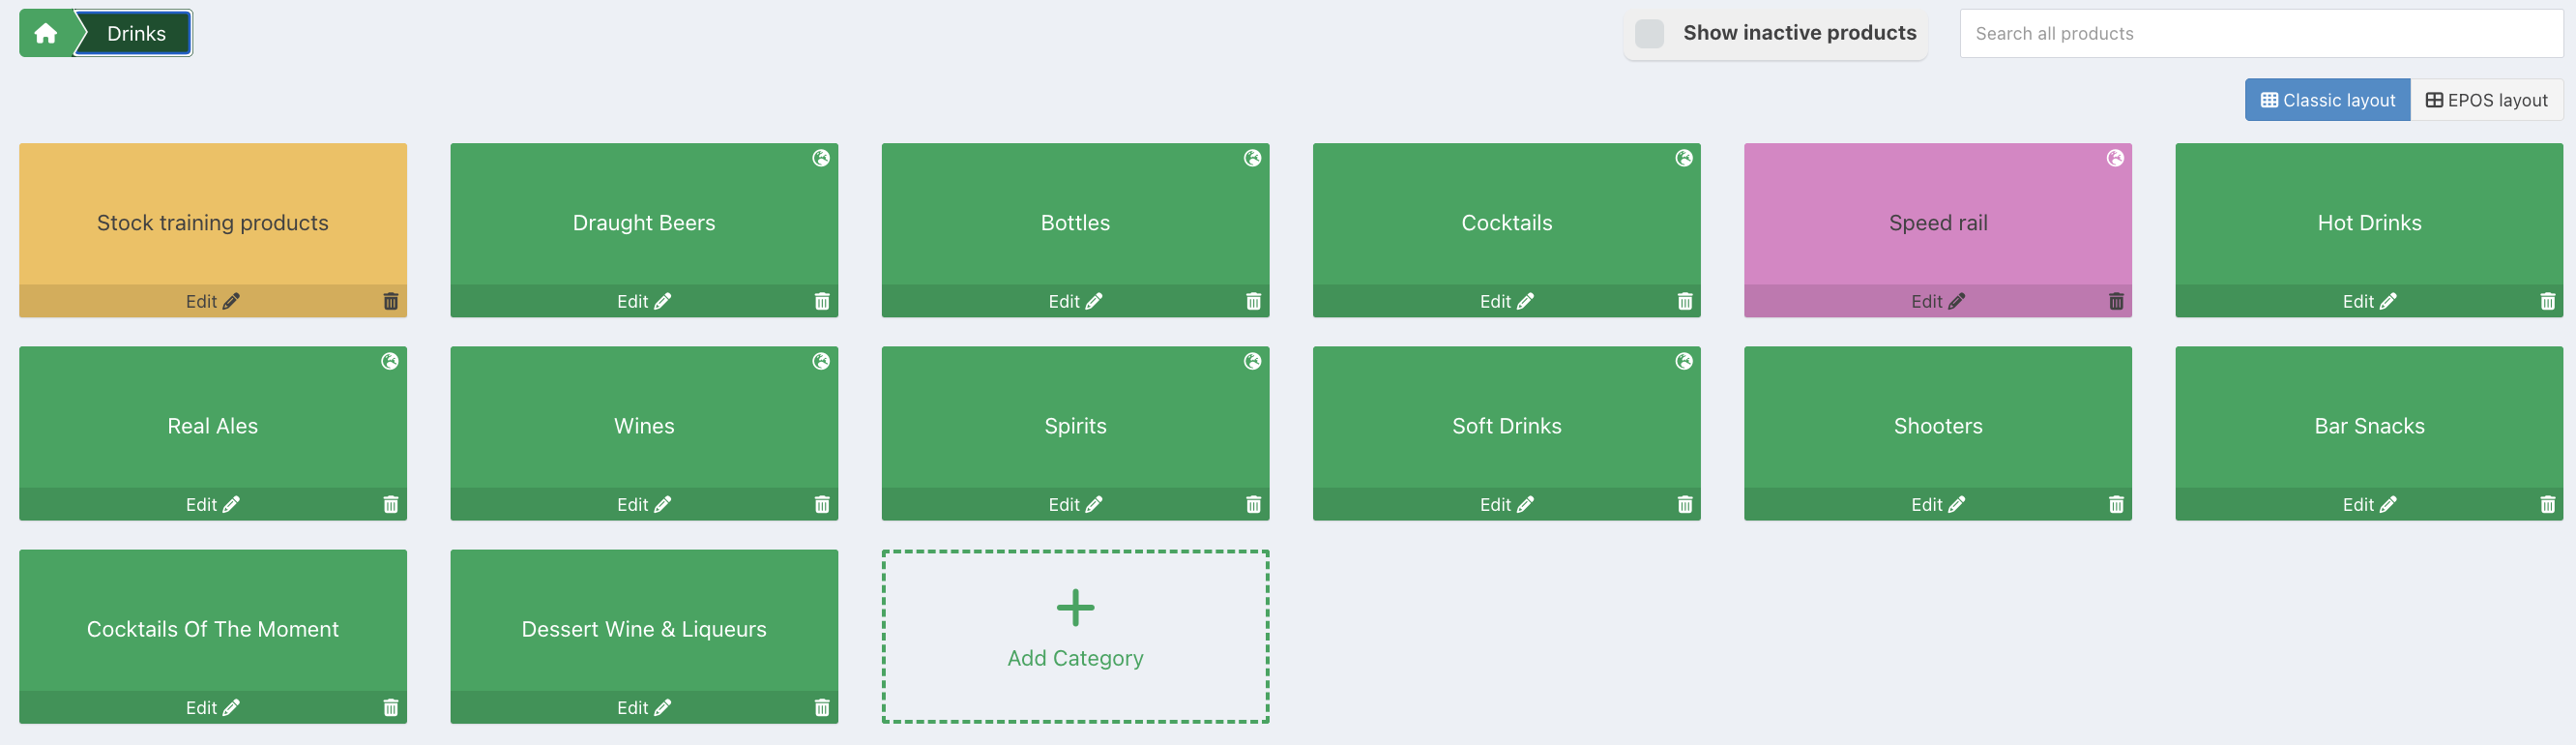
Then select the subcategory you would like to add products to, e.g. Wines, and if necessary any further subcategories, e.g. Red Wine.
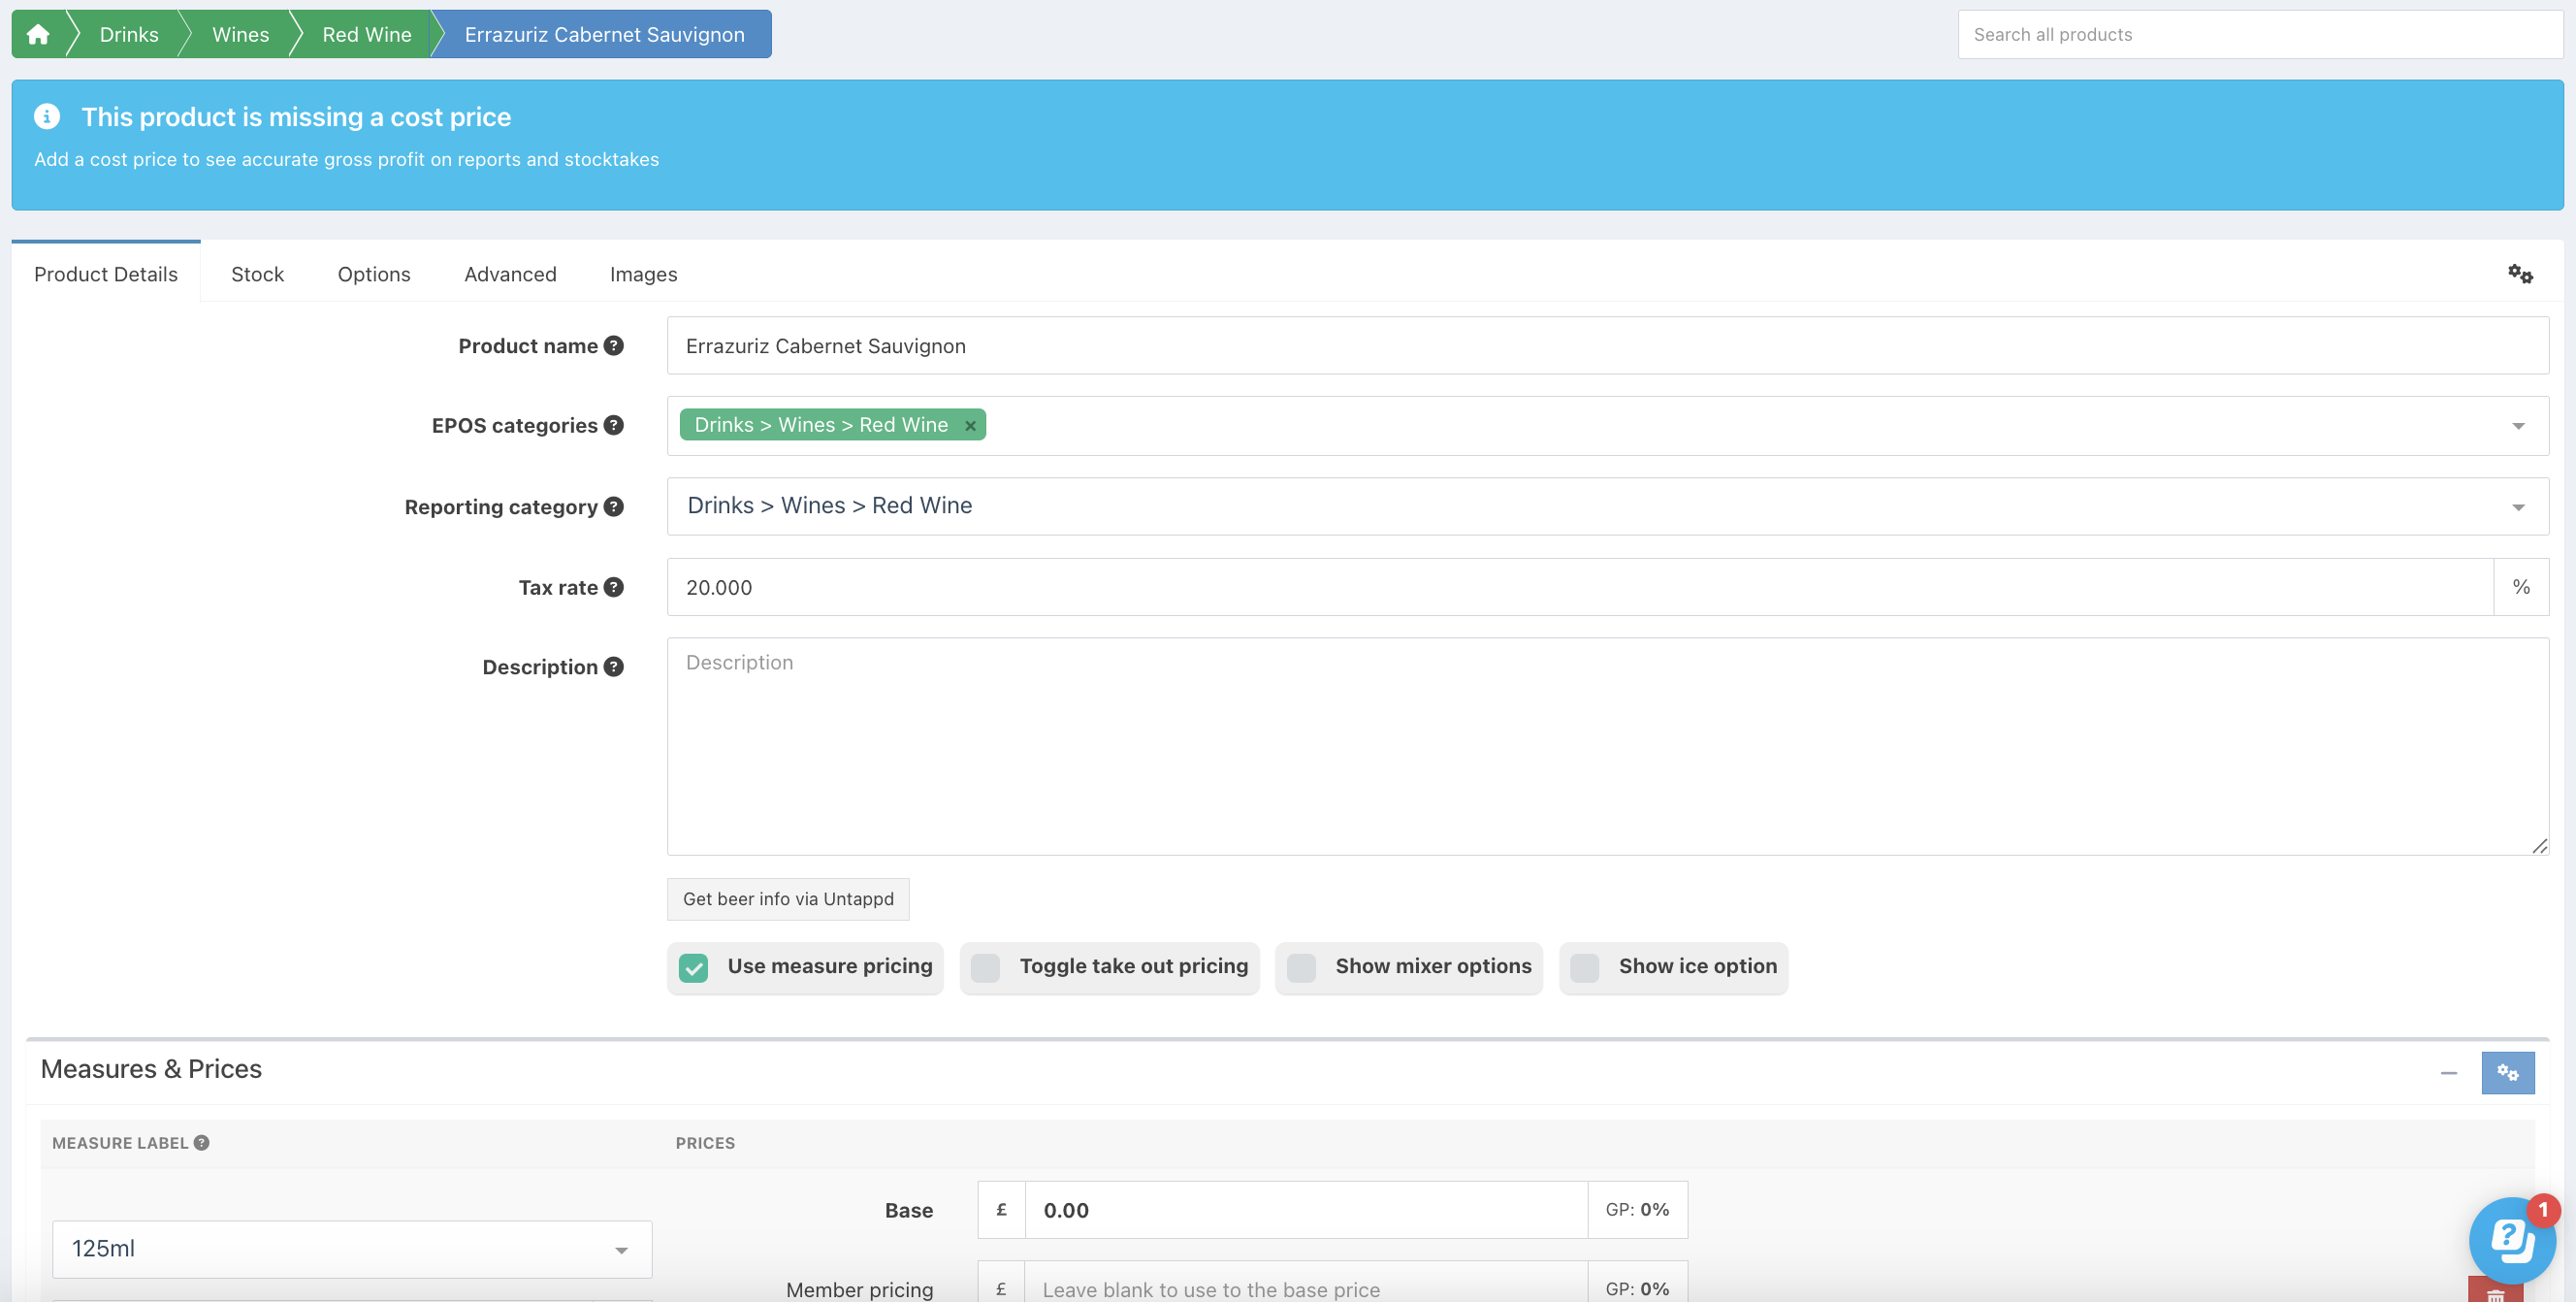
The Wines category has two product templates linked to it, so instead of an Add Product button you will see two buttons - Add wine by the glass and Add wine by the bottle. Press Add wine by the glass and enter the name of the wine you want to add.
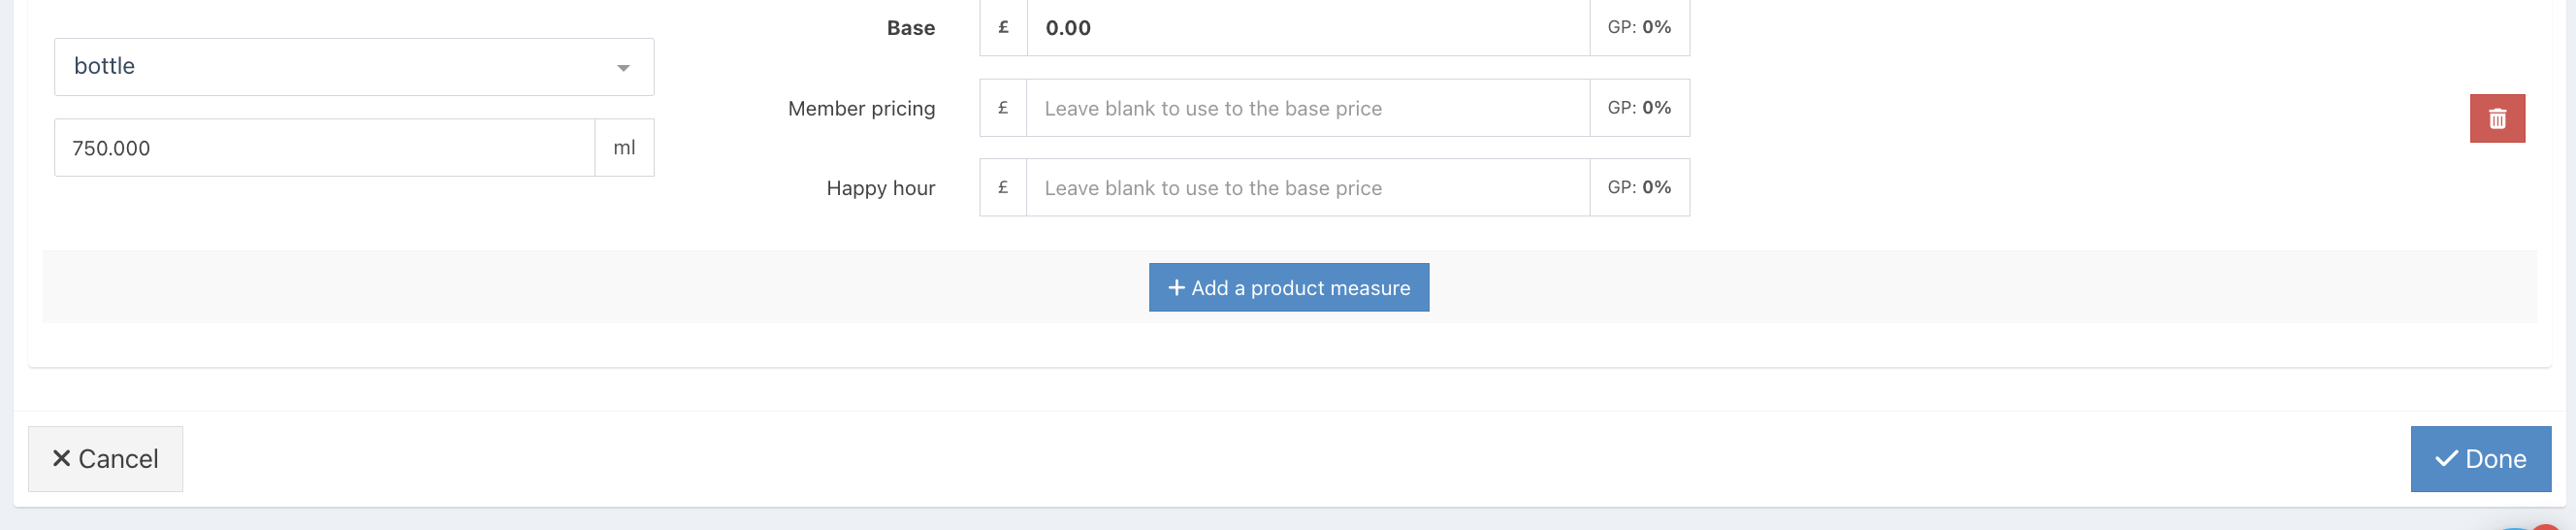
You can now enter a price for each measure.
These measures are preset from the template. If you sell different measures to this, rather than changing this on each product, you can amend the template so that every wine by the glass you add will have the correct measures.
Note: If you have your cost price for the product to hand it is useful to set this on the stock tab of the product. If you have a cost price, the system will tell you the gross profit (GP) you will be making on the product to the right of the base price of each measure.
If you like you can also enter a description of the product, which will be available to staff by pressing and holding the EPOS button , and to any customers using mobile ordering.
Click the blue Done button, at the bottom of the screen, to add your product.
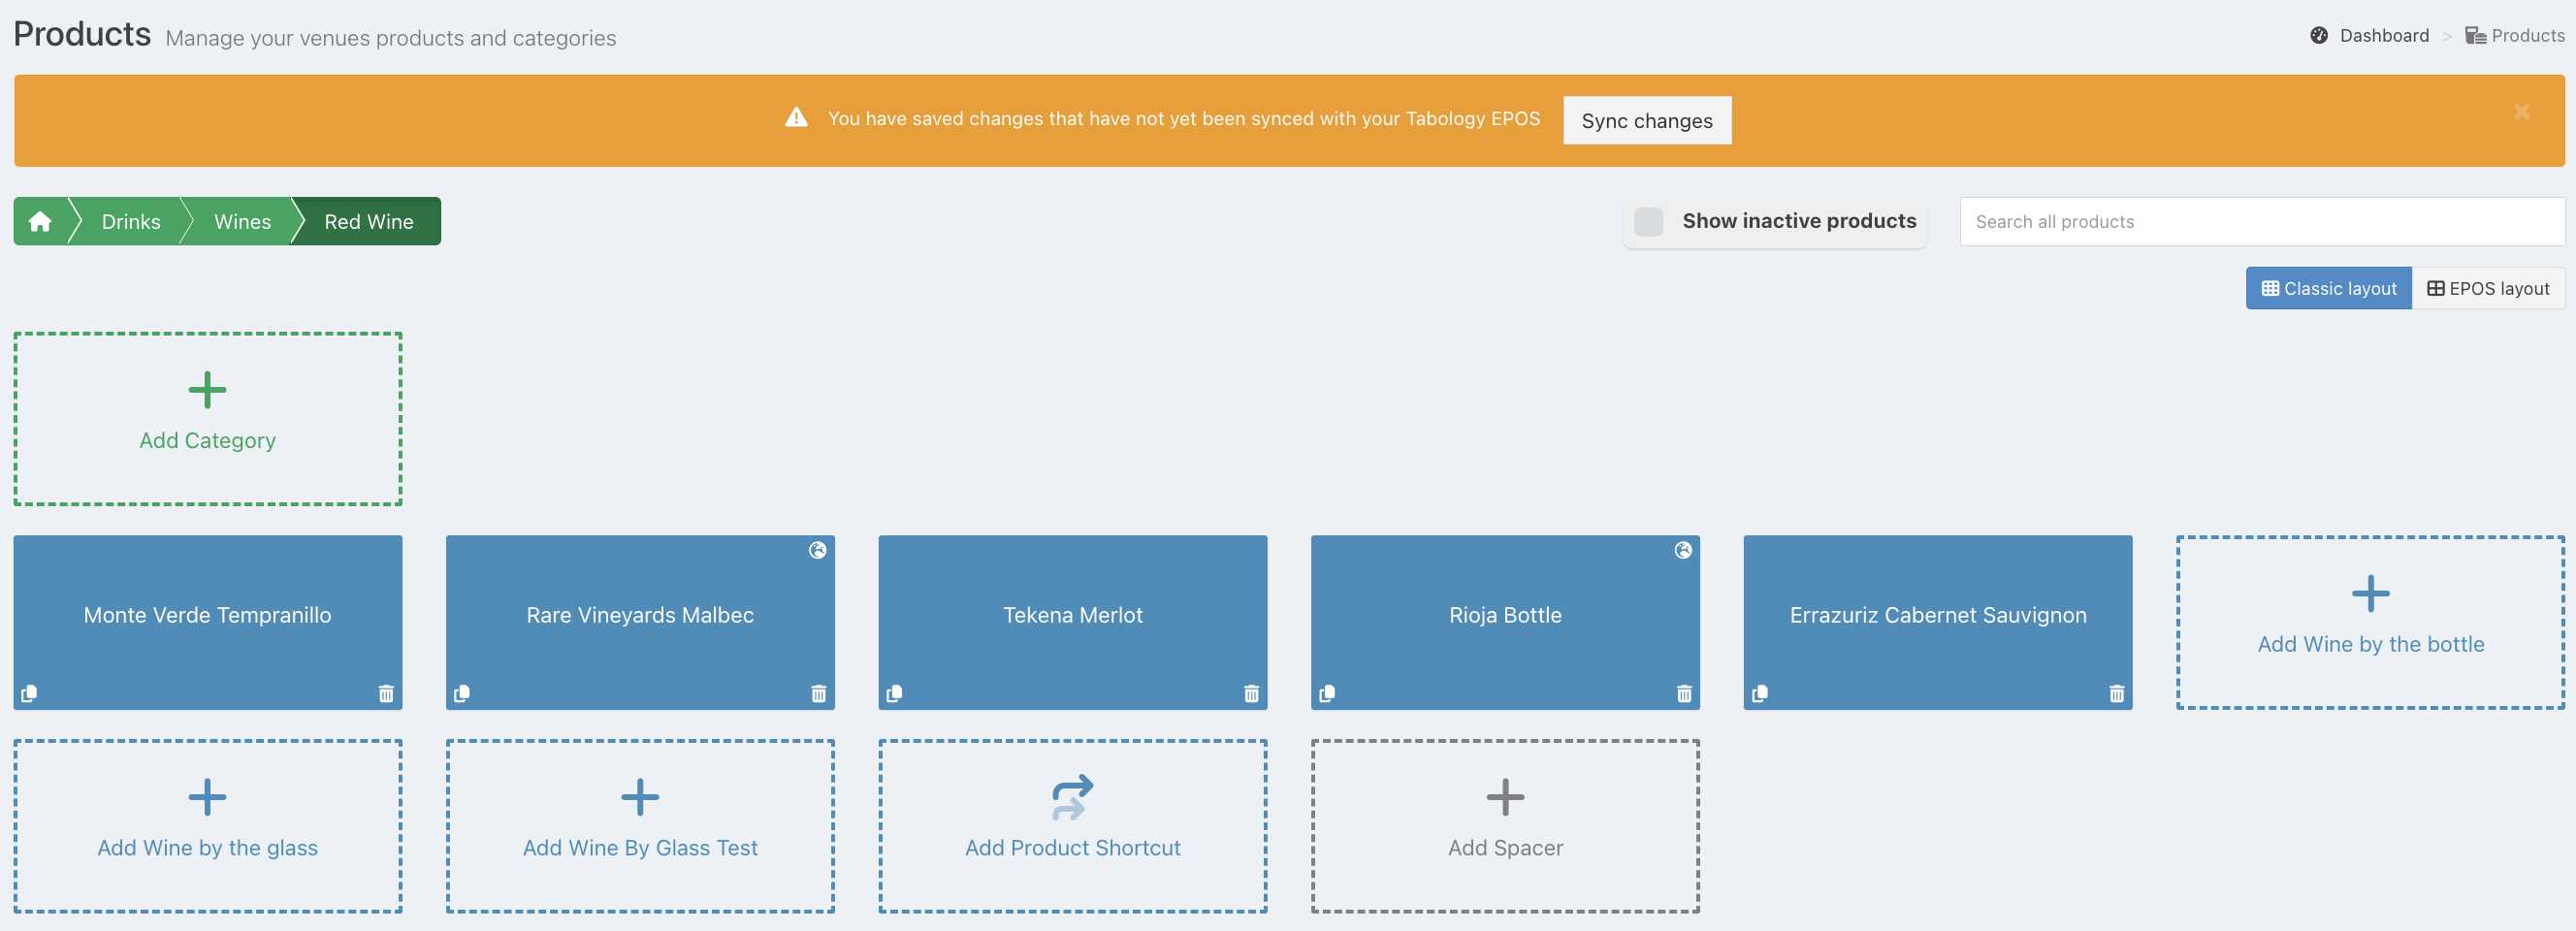
Your new product will display as the last product in the row.
Note: If you would like to see how your products will display exactly on the EPOS, click the EPOS layout button, to the right of the screen.
To make your new product appear on your EPOS, press the Sync changes button, which will appear at the top of the product screen in the Orange banner.
That's all you need to create simple products and sell them from your EPOS, but there is much more you can add to get more from your system. Here are some articles you might like to read next:
- Product Stock Settings
- Using measures (portions)
- Adding recipes to products
- Product options & modifiers
- Adding Mixers
- Adding staff notes field
- Setting take out prices & tax rates
Was this article helpful?
That’s Great!
Thank you for your feedback
Sorry! We couldn't be helpful
Thank you for your feedback
Feedback sent
We appreciate your effort and will try to fix the article